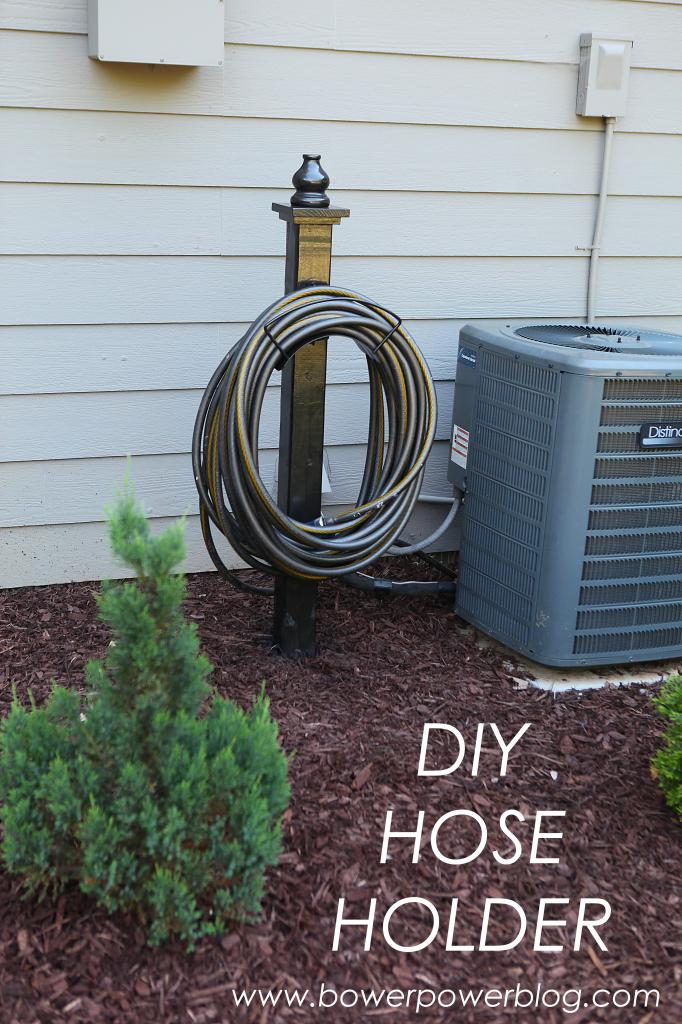
Right after LJ was born, we built this garden assistant. It’s a DIY hose holder and I LOVE it.
We got a ton of inspiration from Shanty 2 Chic’s hose holder and one that Centsational Girl featured years ago and did some minor tweaks to make it fit our house exterior just a little bit better. Also…we secured it into the ground with concrete because, well, you know Jeremy. On the Shanty girl’s hose holder, the entire thing looked a little small to me which would work great for the front yard or a prominent place but we needed it to be bigger because 1. our hose is ridiculously long and b. Jeremy adamantly said that he was tired of bending over. I would like to make a note for the record that I am not tired of Jeremy bending over. Let’s be clear on that. The Centsational Girl one was a little bit more beefier at the top which I really liked but it was white and that hook for the hose looked ready to puncture a kid eyeball. So I decided that taking the best of both worlds and adding a little more child-friendly metal hose rack would be the best fit for us.
You might be wondering why I didn’t just buy a hose storage box that has one of those cranks to gather up the hose….oh right, I did. Jeremy came home one day with the nearly $50 hose storage box and I was excited to finally get that thing off the ground. But then I started looking at the parts and how light it was and I knew almost instantly that my boys would be climbing on it, moving it, and attempting to demo that box. Plus, in this part of Georgia, we deal with a lot of yellow jackets. They will build their nest in any cool dark place…and I didn’t want to create another home for them where my hands would be in close vicinity.
The little brick platform we had thrown together for the hose didn’t really work either because it was too small and the hose was constantly dirty.
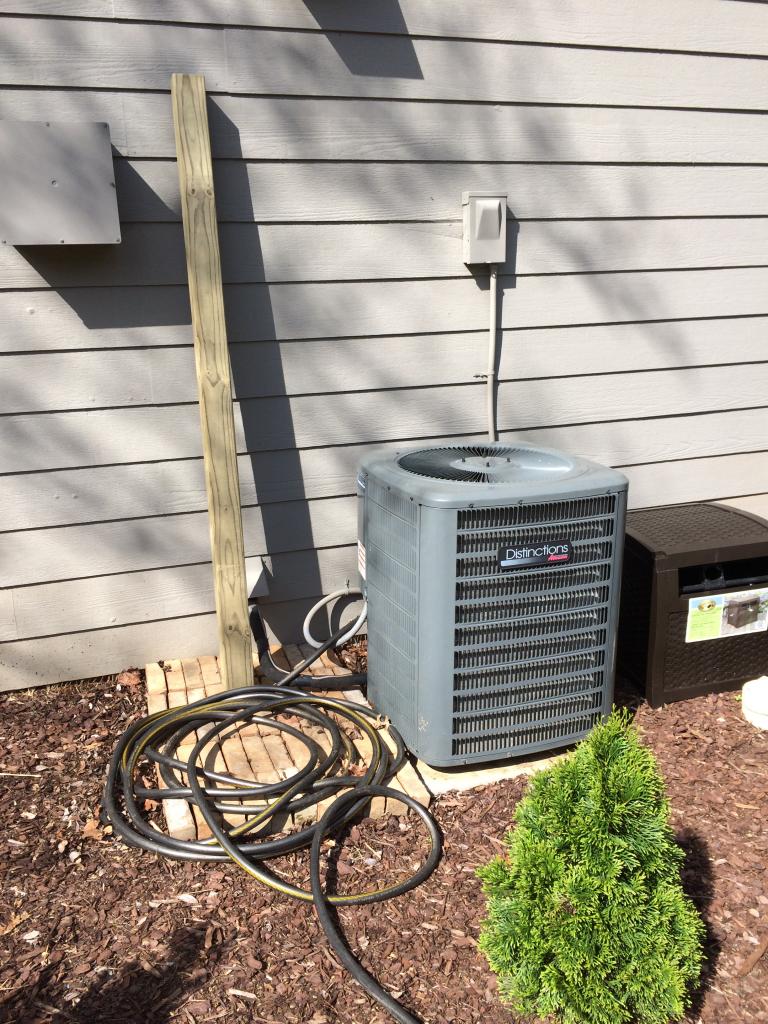
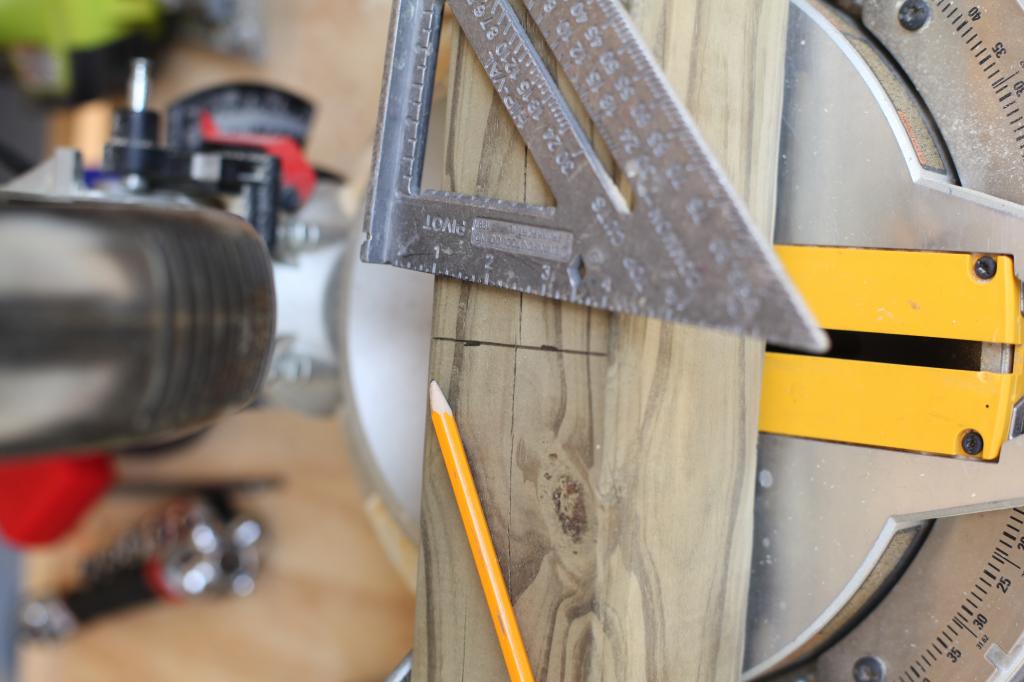
The first thing we did was measure for our post and cut it down to allow for the right height.
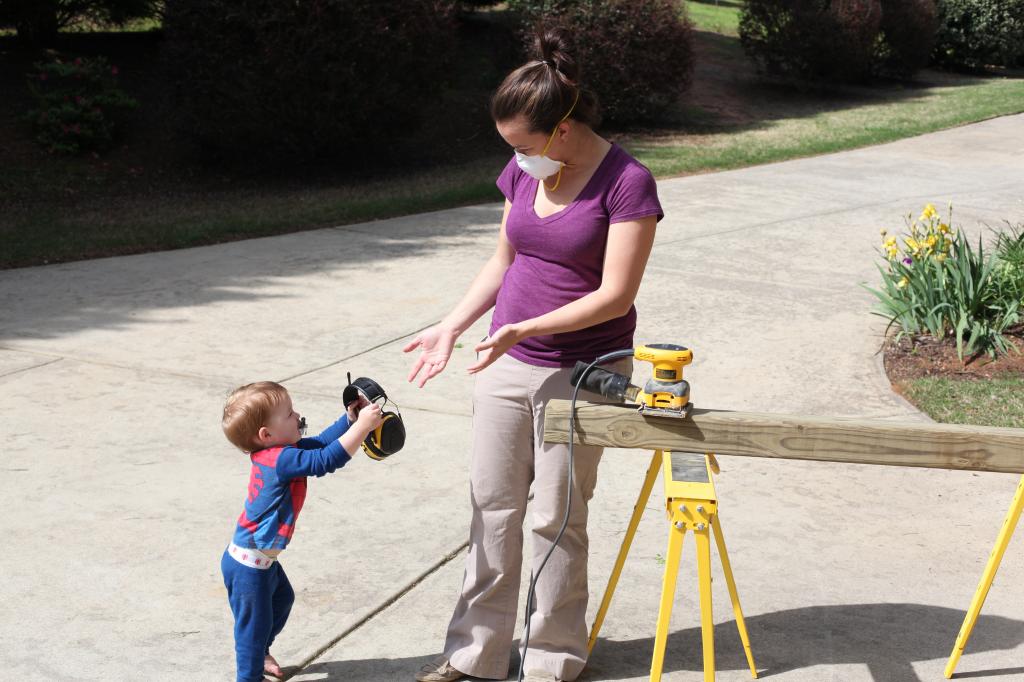
Then came sanding the 4×4 post. We used exterior wood for this project.
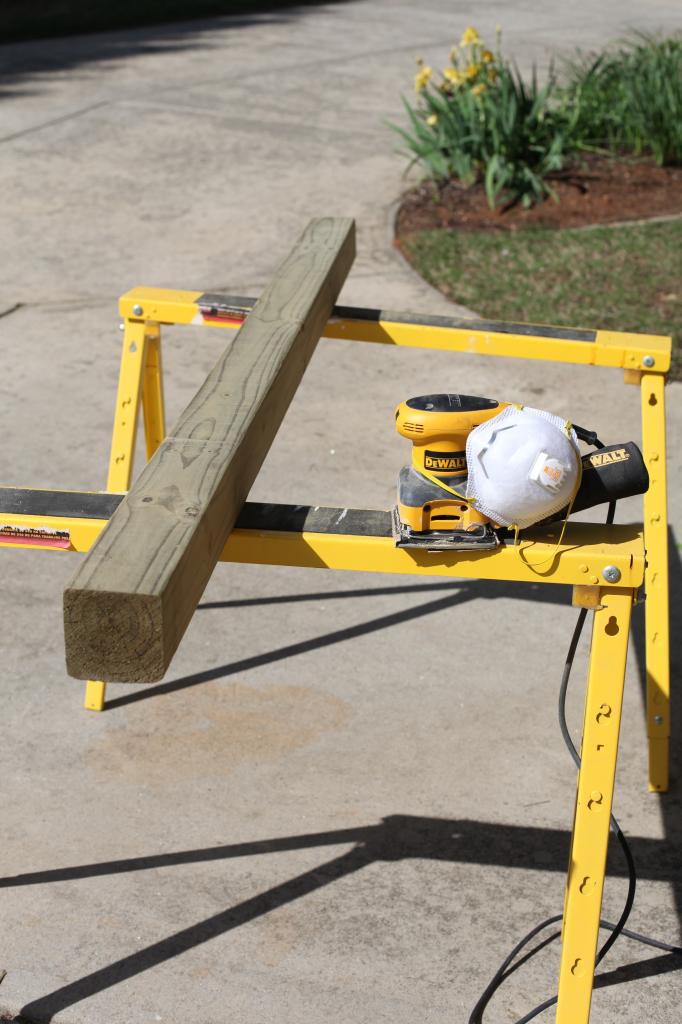
Apparently my kids understand safety equipment now. Either that or they just like telling me what to do.
Besides the 4×4 we used a bit of scraps and a bun foot from Lowe’s. The lumber cost us $8 and the foot cost us $7. Later we also bought concrete for just under $3 and the metal rack for $10. That was our total expense – everything else we had on hand. I don’t know how the other Pinterest people do these projects for super cheap…because if you had to buy spraypaint and glue and sandpaper, this could get pretty pricey. In that case, I would tell you to buy a spray can of yellow jacket killer and get that plastic reel box.
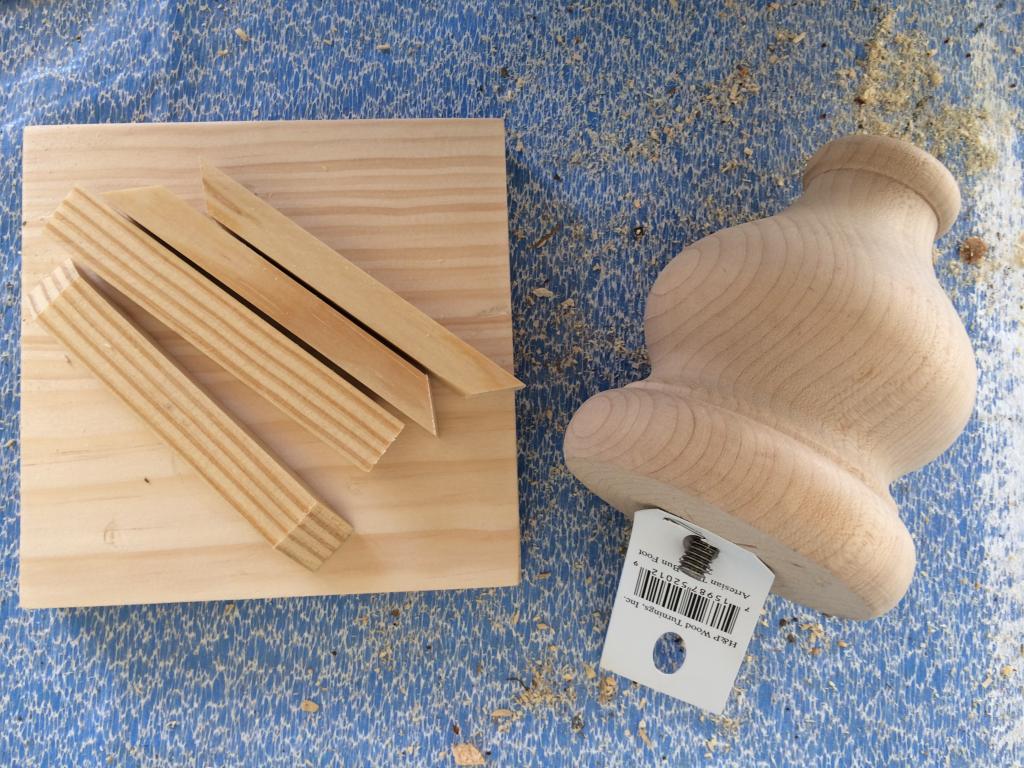
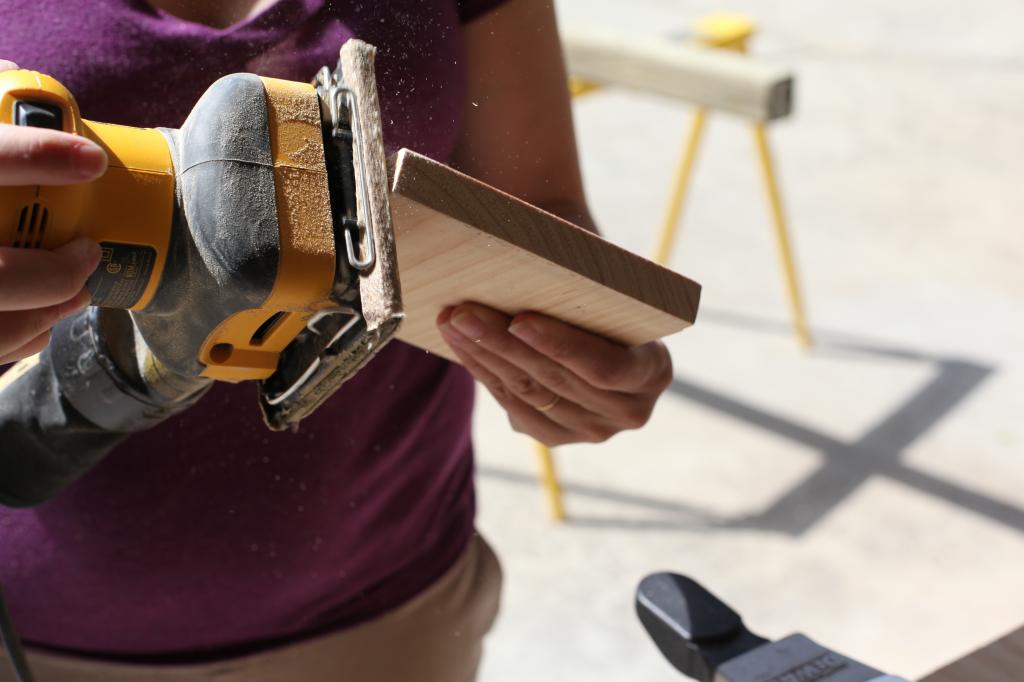
So the 5×5 square piece is gonna be the cap on the post. We sanded it down on all the edges and flat parts.
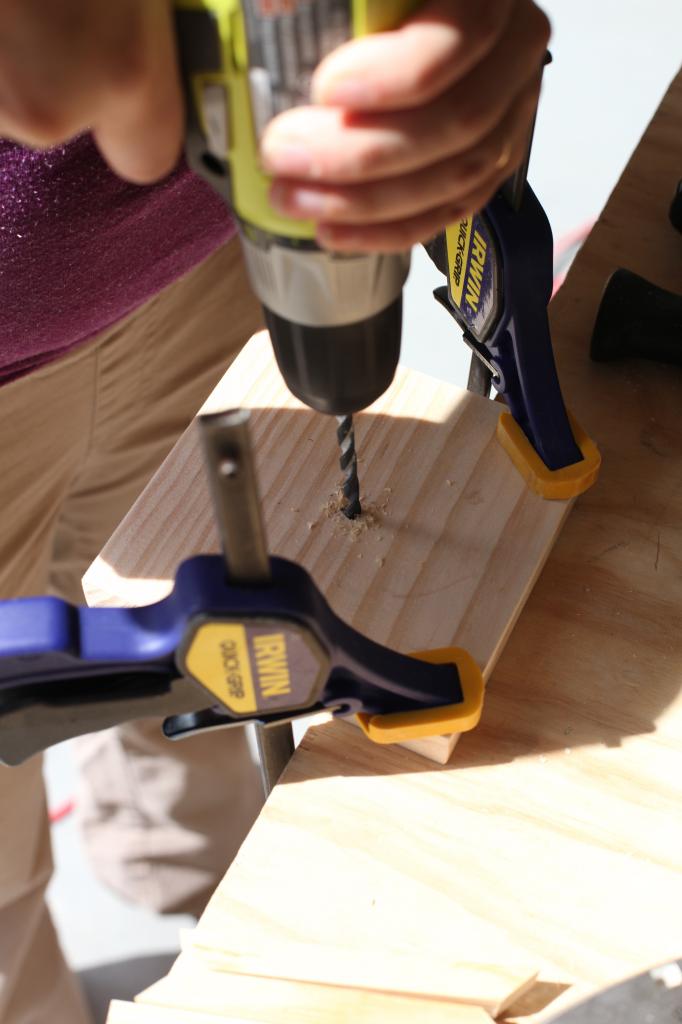
Then I drilled a hole in the center for the bun foot to screw into.
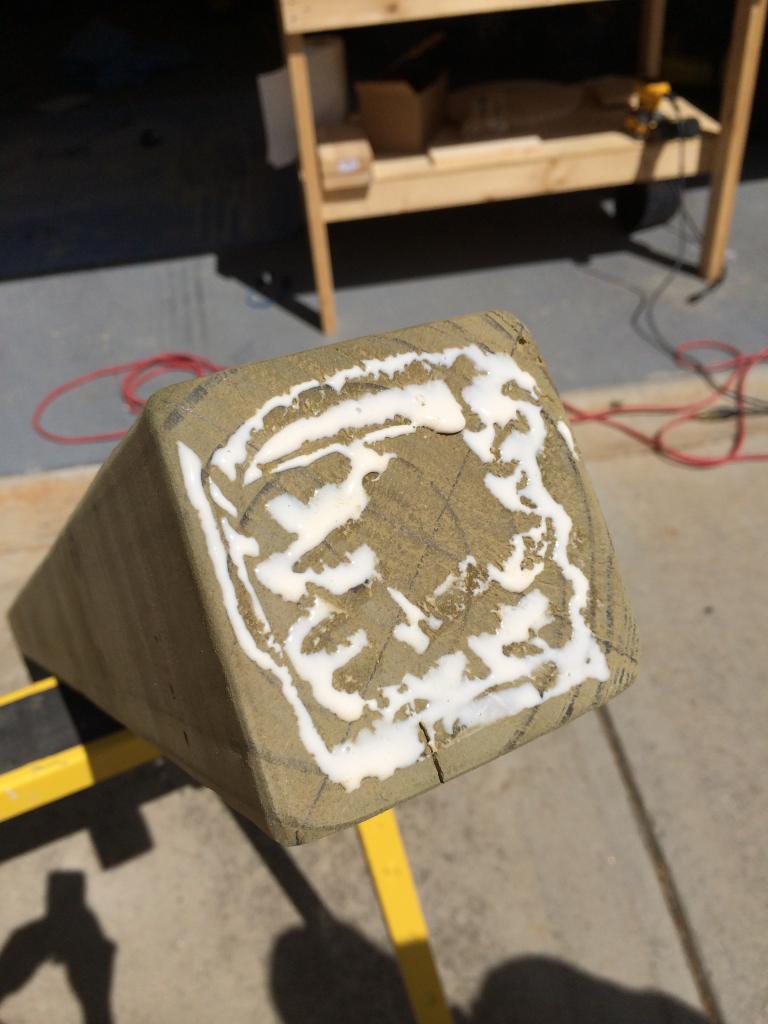
We added glue to the top of the post…
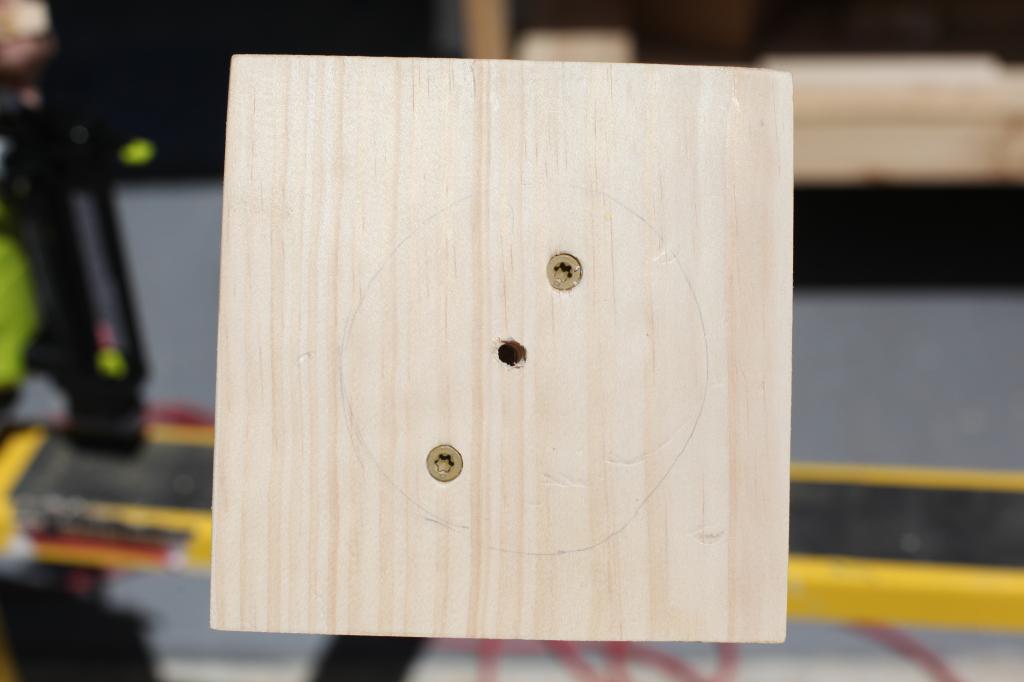
And screwed the cap onto the post using two exterior wood screws.
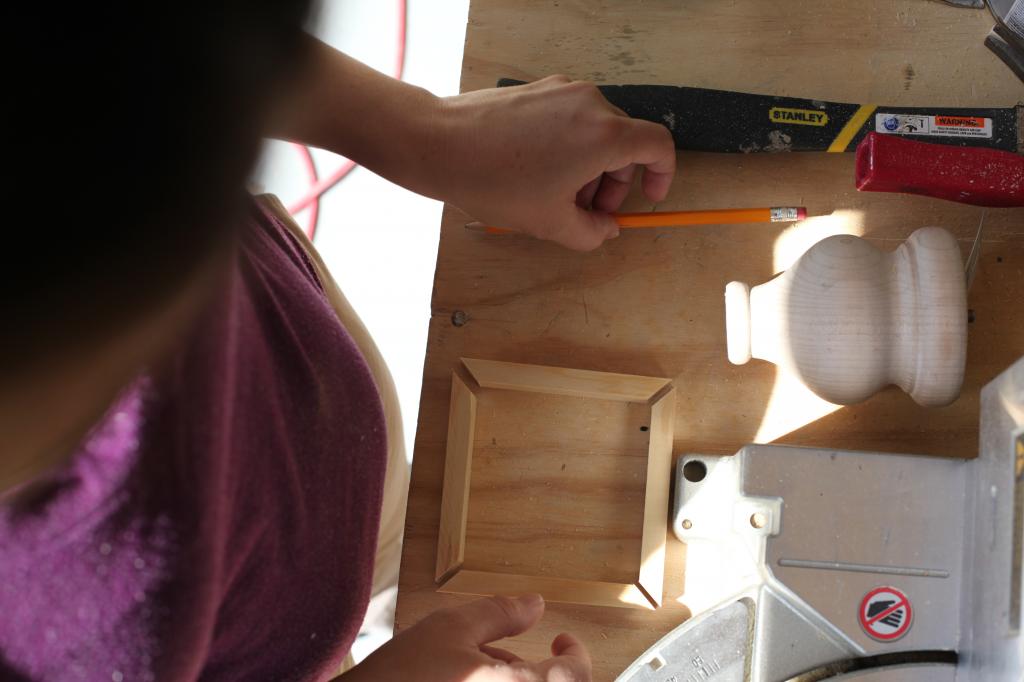
Then I worked on the miter cuts for the trim that would go around beneath the cap. I cut them out of scrap 1×1’s. Ignore the poochy belly…that’s a real post partum belly for you.
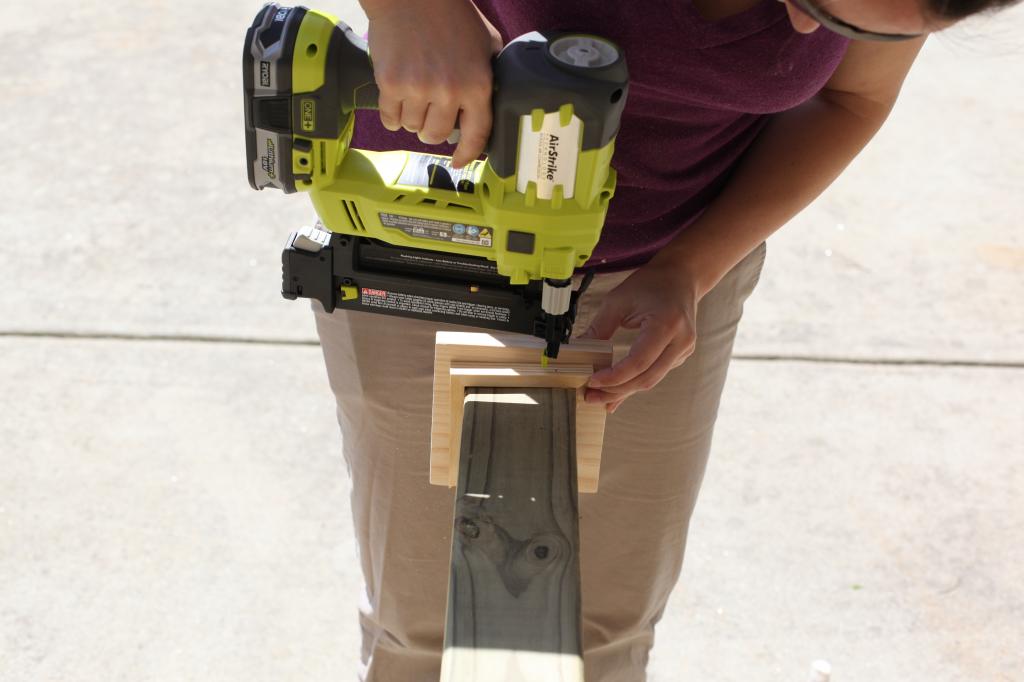
Since these were not going to be weight bearing, it can be added with a little glue and a brad nailer.
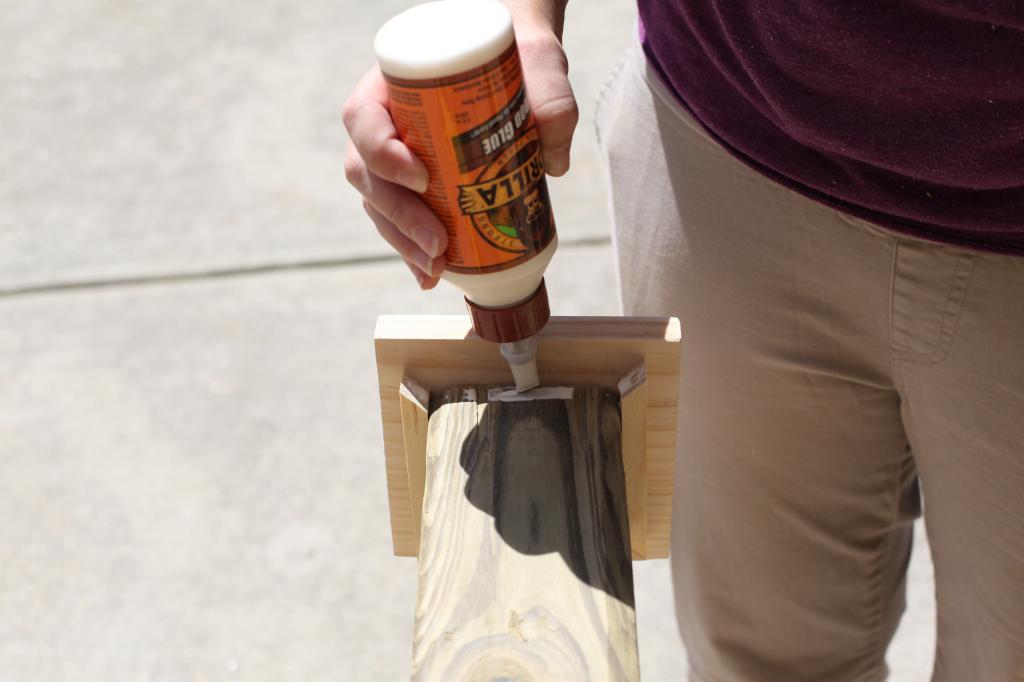
If you dont’ have a Ryobi AirStrike yet…get on that. Seriously I am addicted to this thing. Ana White called it a staple gun on steroids in her show and she couldn’t be more right. Although Ana is more right in most cases, amen?! I think most guys out there would be thrilled if their wives asked for this for Christmas…it’s a lot less intimidating for them to ask for a brad nailer than to pick out a pashmina.
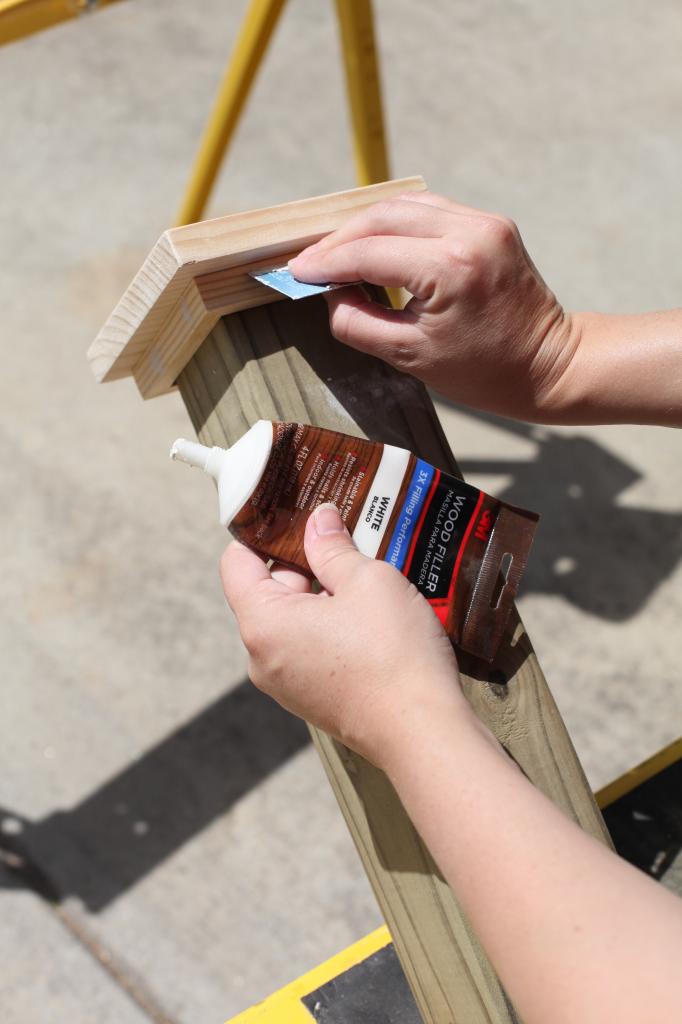
For the little brad nail holes and the top of the bun foot, I added a little wood filler.
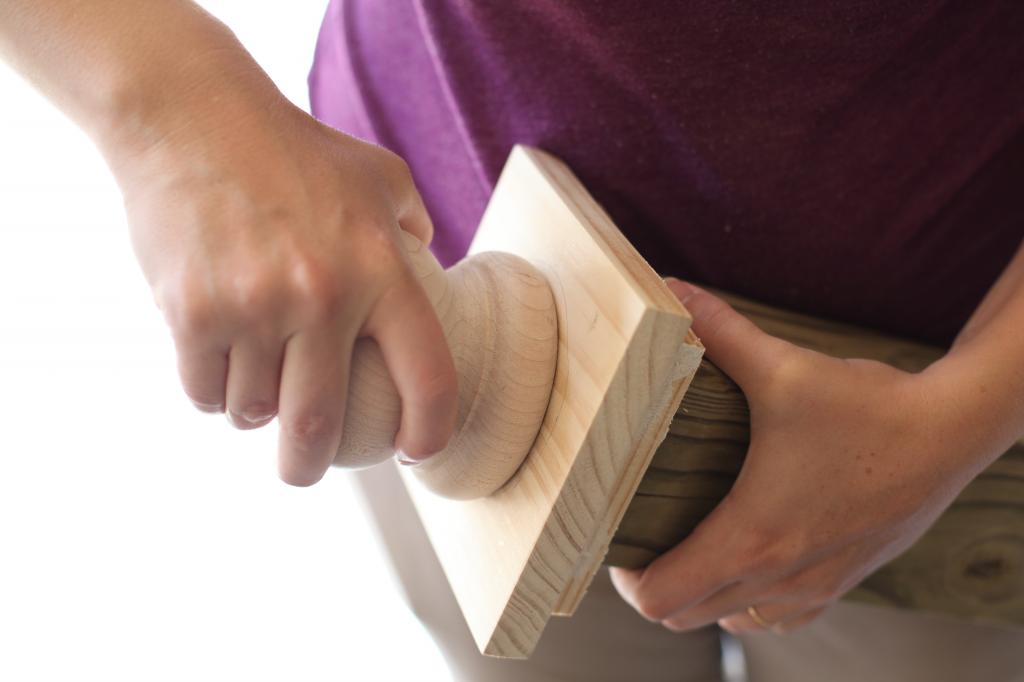
Speaking of bun foot, that gets screwed into that hole you drilled. Now your post is done. Time for the hose rack.
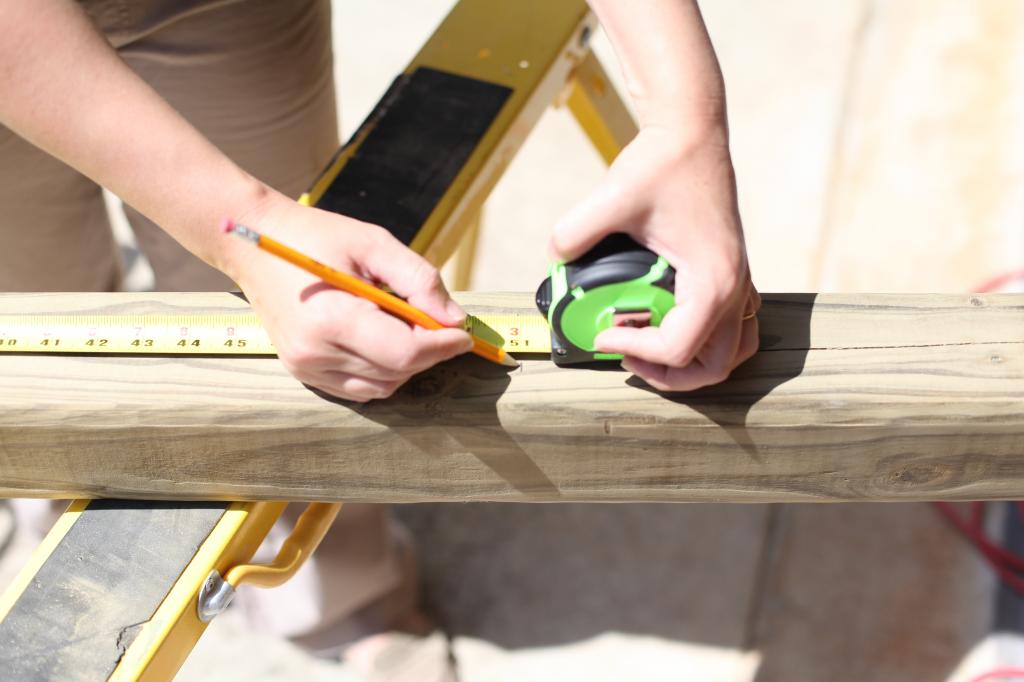
We measured out where the rack would go and marked some holes.
Then I predrilled two holes for the rack itself.
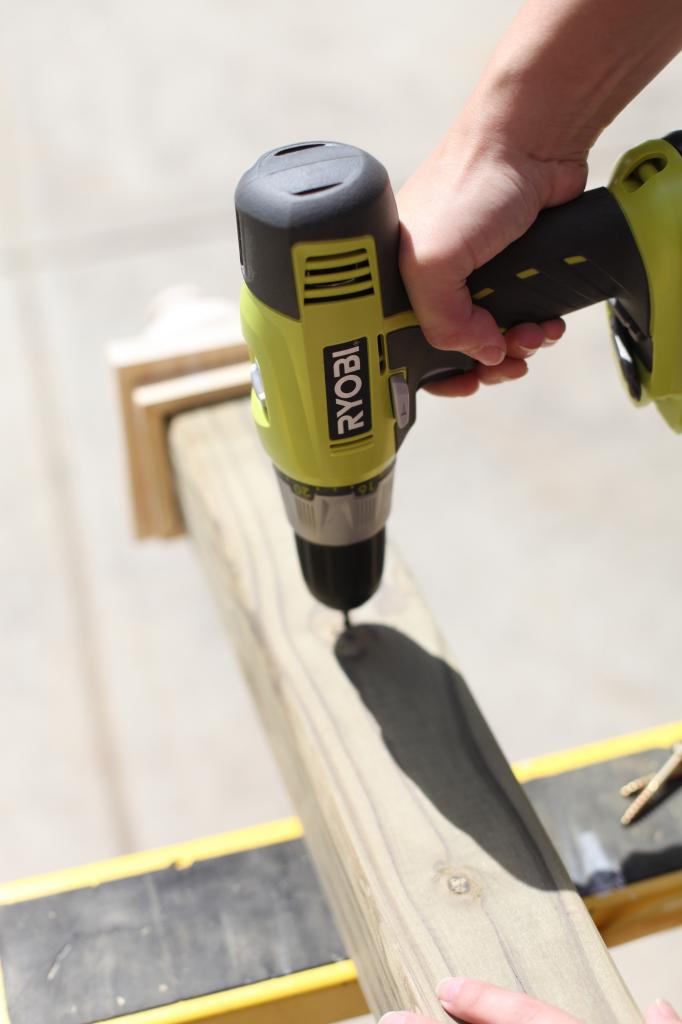
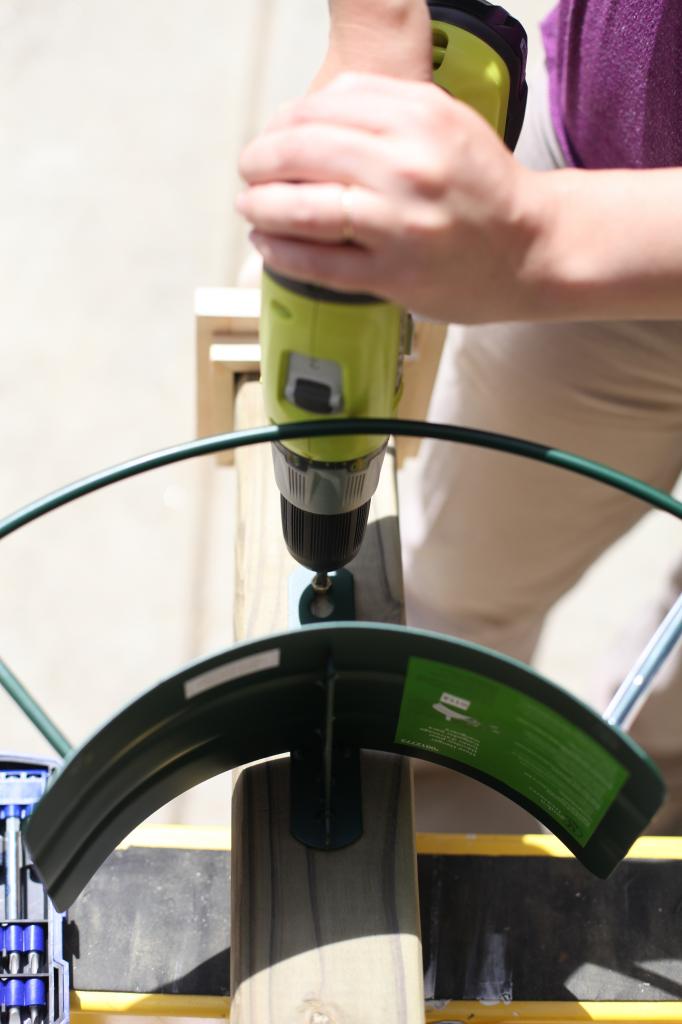
Attaching it was super simple…just drill screws into the holes, slip on the rack, and slide into place. I fastened the screws a little tighter so that it wouldn’t be a game for the boys.
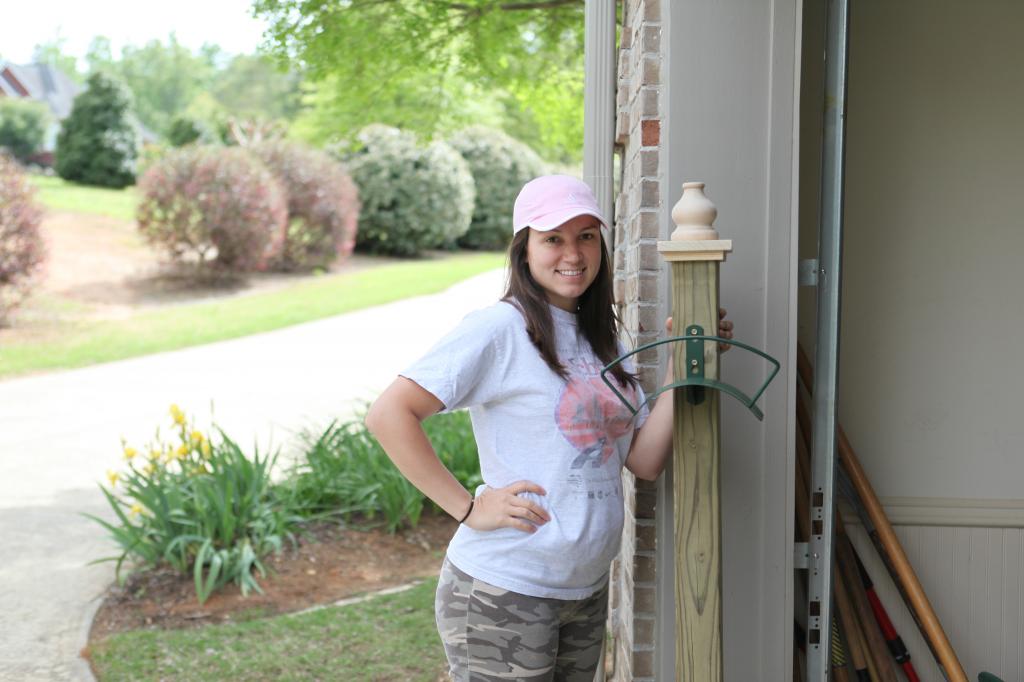
Ta-da! Hoe’s hose holder 🙂 jk mom.
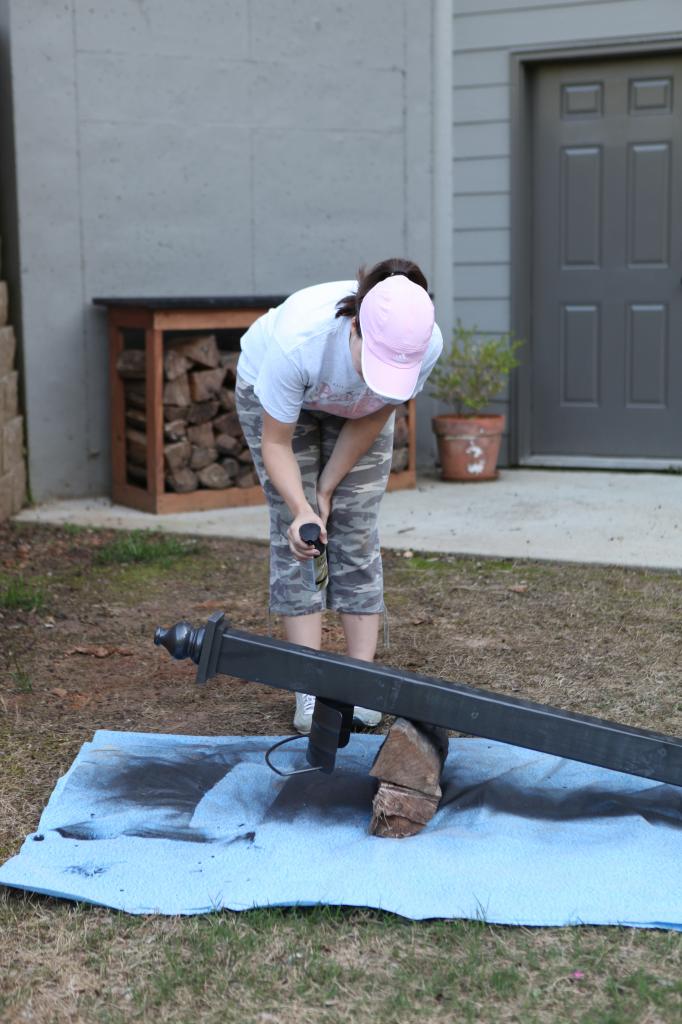
The last step to making the post ready was to spray it. I used Rustoleum’s Oil Rubbed Bronze. Eventually I am gonna paint that light near the back door and it will match. Eventually.
Back to our spot in the back yard.
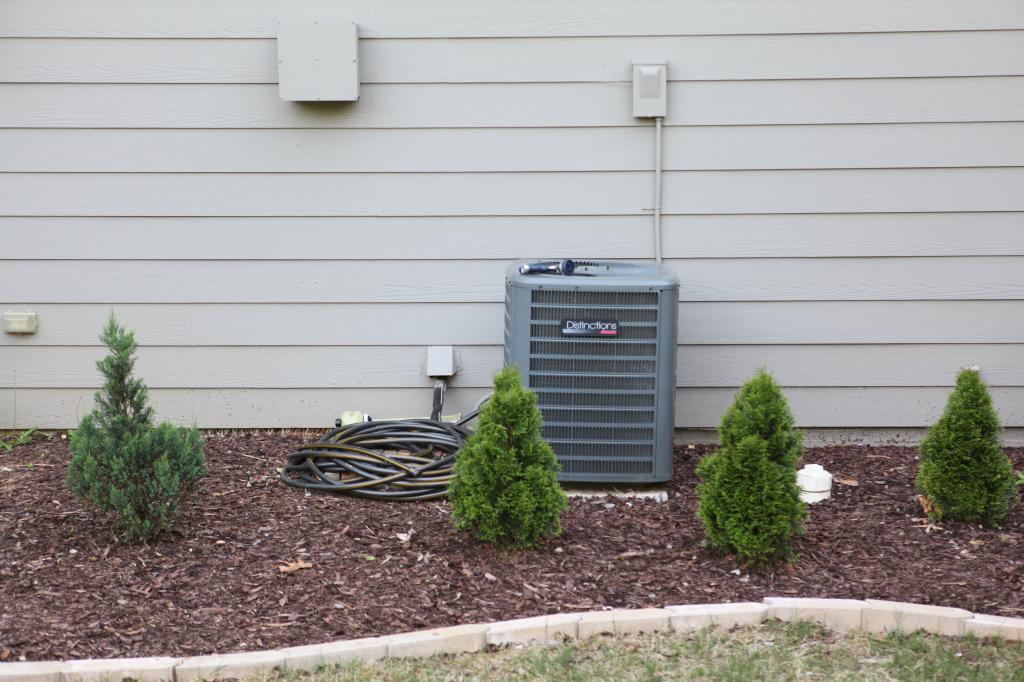
Will got to work digging the hole. Weston assisted.
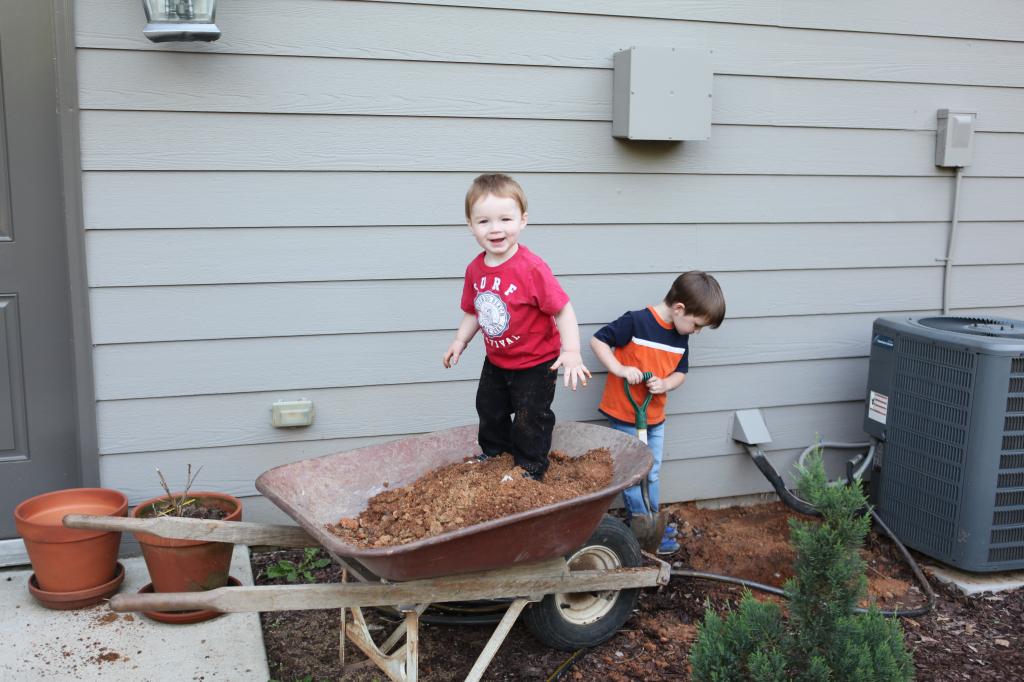
Actually Jeremy did dig the hole…Will just really likes digging so he got to scoop up extra dirt with his shovel.
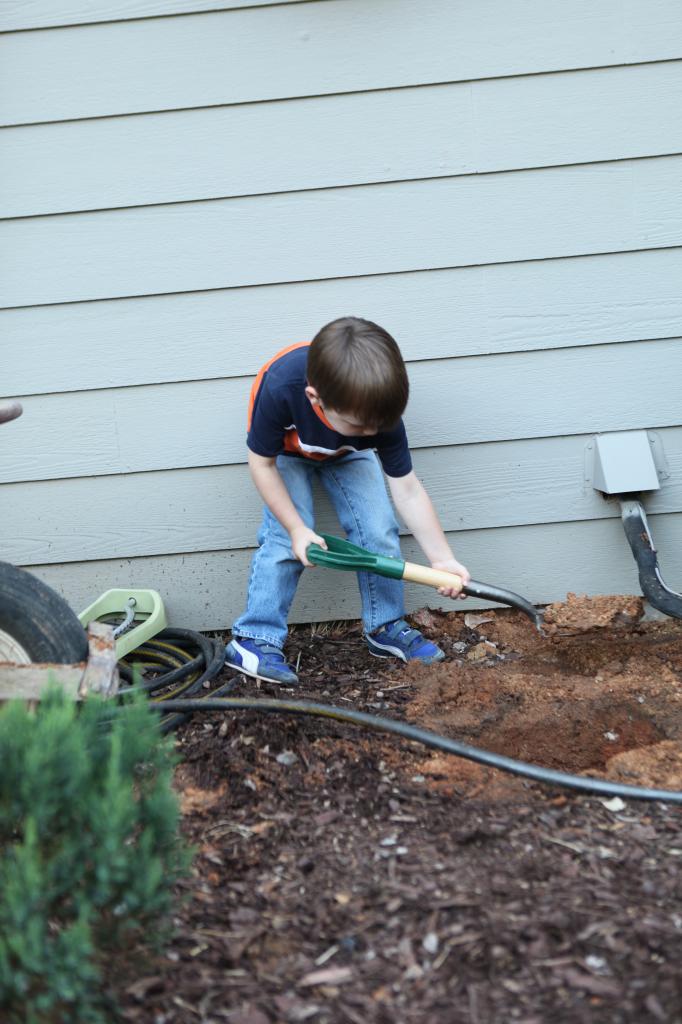
Weston is so funny to me. It’s amazing how completely different he is than Will. I know that I should have expected that (I mean, I am different than my siblings!) but I didn’t. Will is all about being a helper and being a big boy and I think Weston could care less. He is all about games…all about laughing and making other people laugh. I love that about him but it’s definitely challenging to find his motivation when it comes to doing the stuff that is not as fun. If only everything was a wheelbarrow full of dirt!
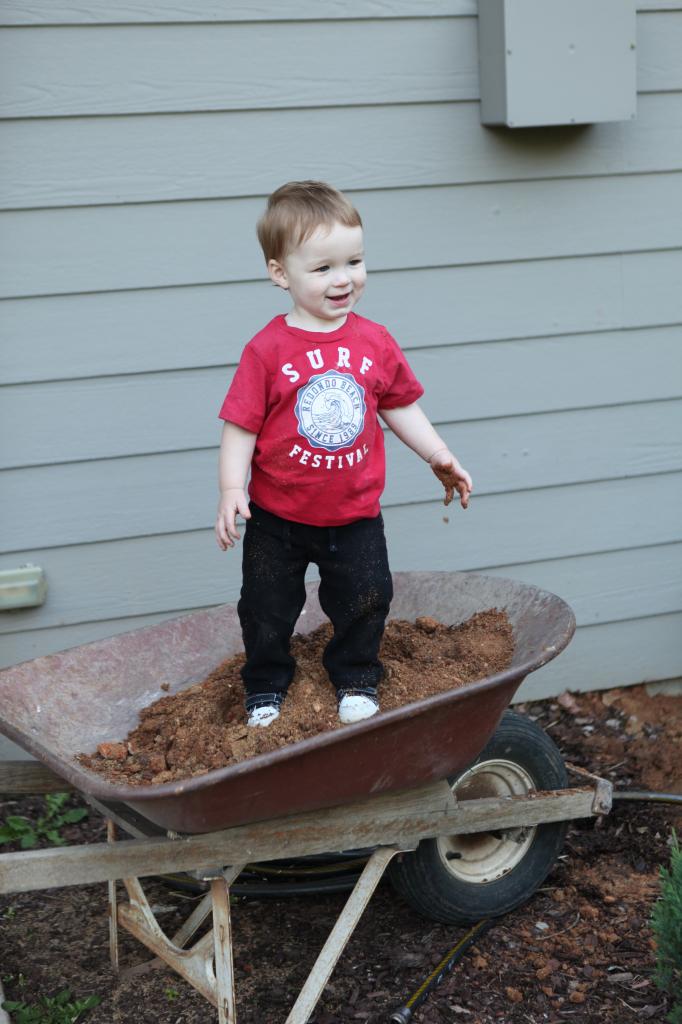
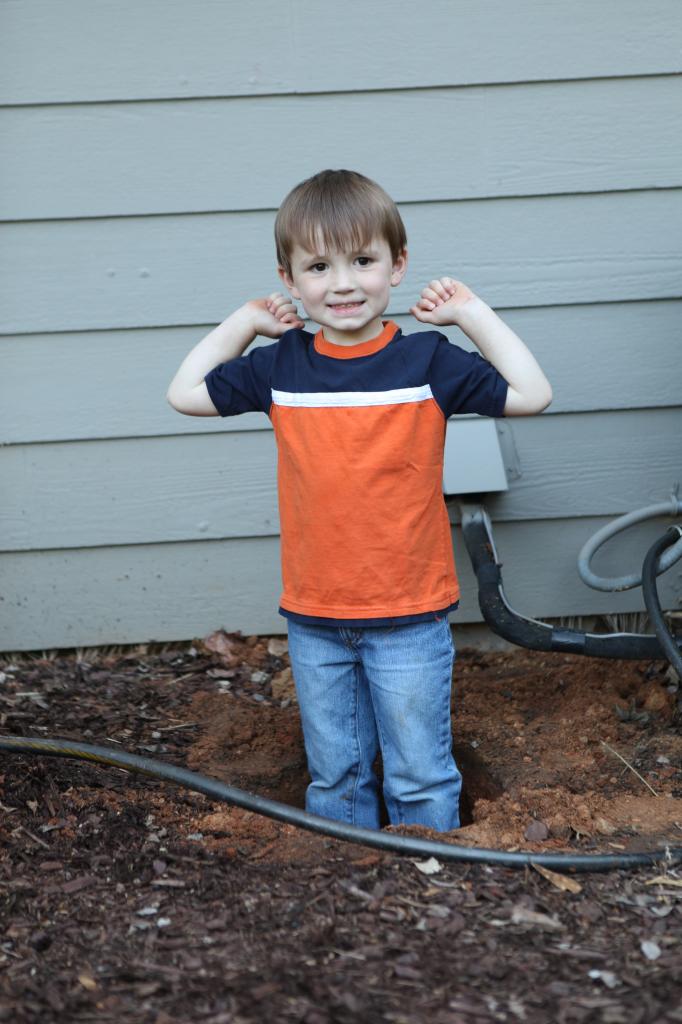
Will wanted to show ya his giant muscles from digging.
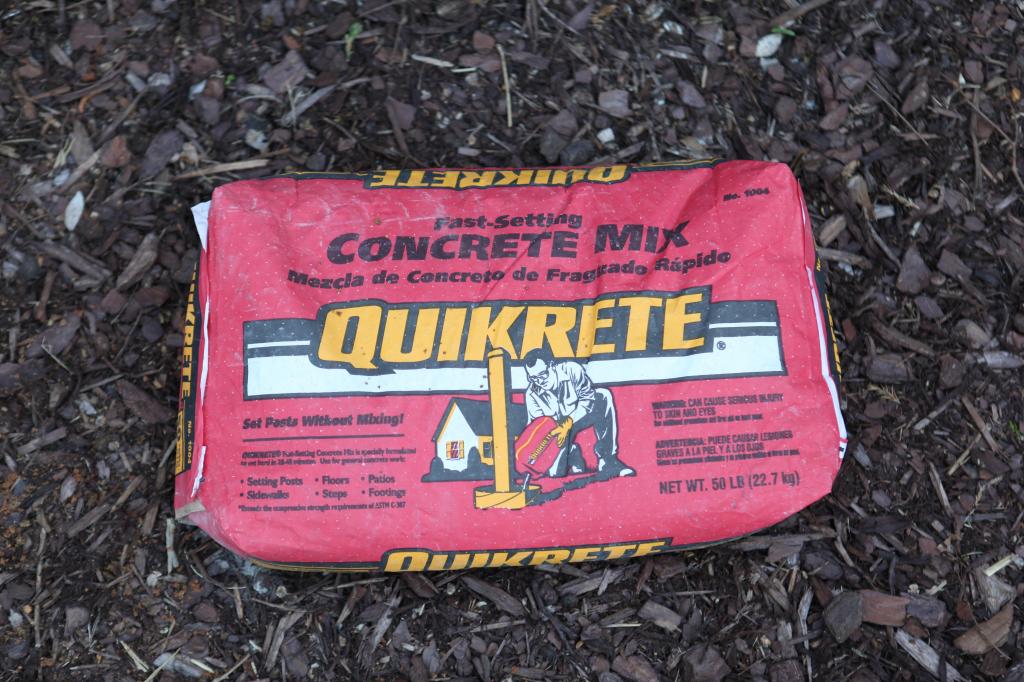
I personally have never used Quikrete before…but now I kinda wanna concrete everything into the ground.
It’s so freaking simple. We just set the post where we wanted it in the hole and dumped the concrete mix around it.
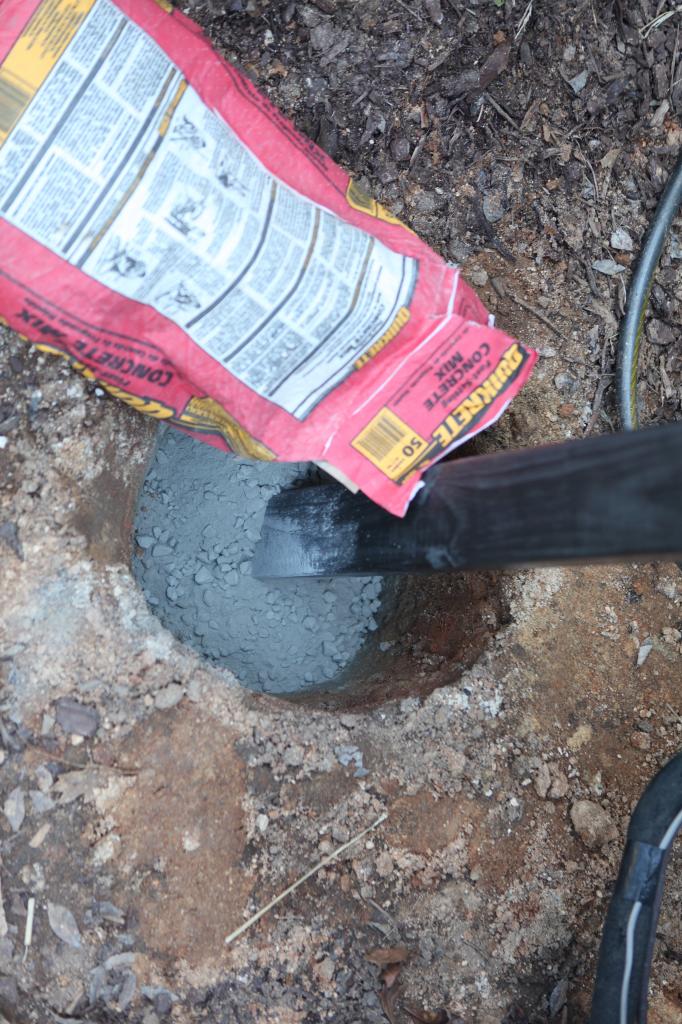
Then we added the appropriate amount of water (the bag tells ya how much) and sludged it around with a random stick.
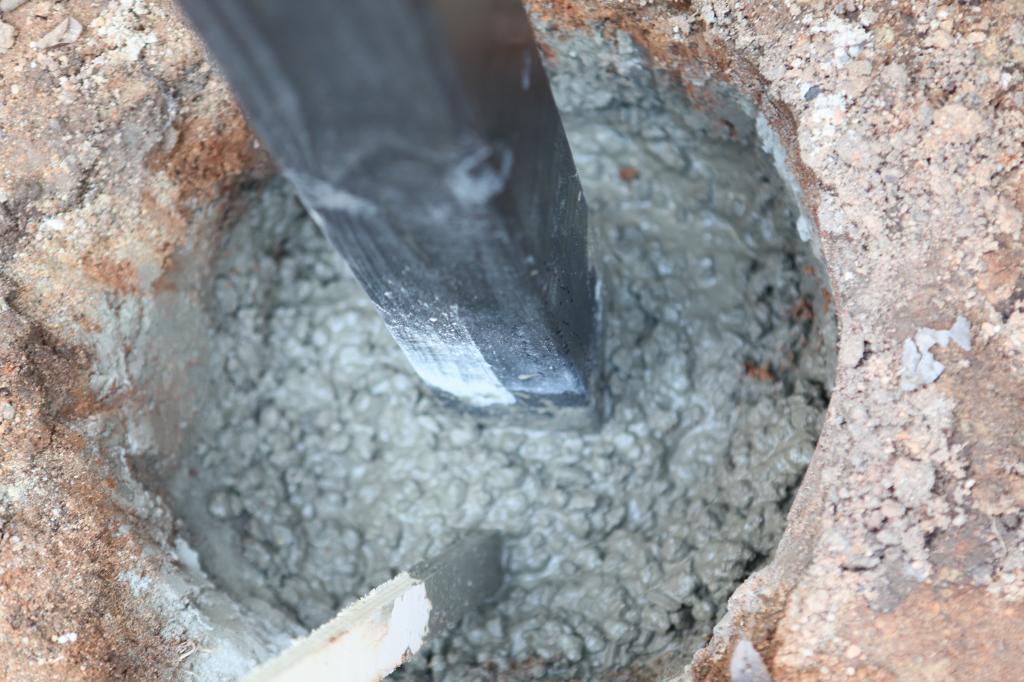
We made sure it was straight with a level…because I would literally dig that thing out with my bare hands if it was wonky.
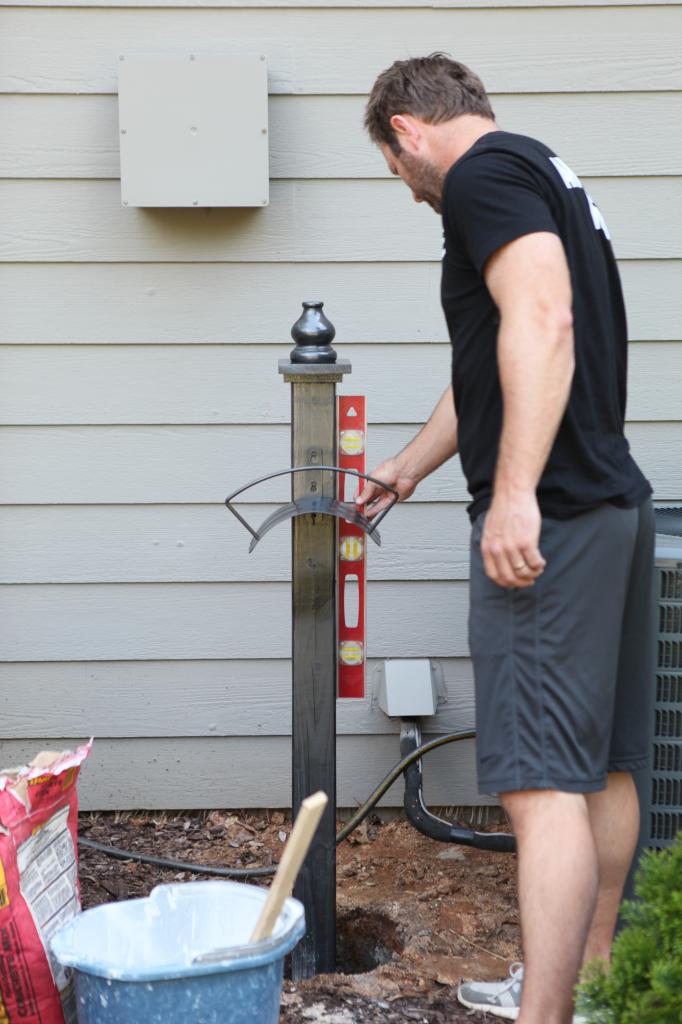
In no time, it was set and we were ready to bury it!
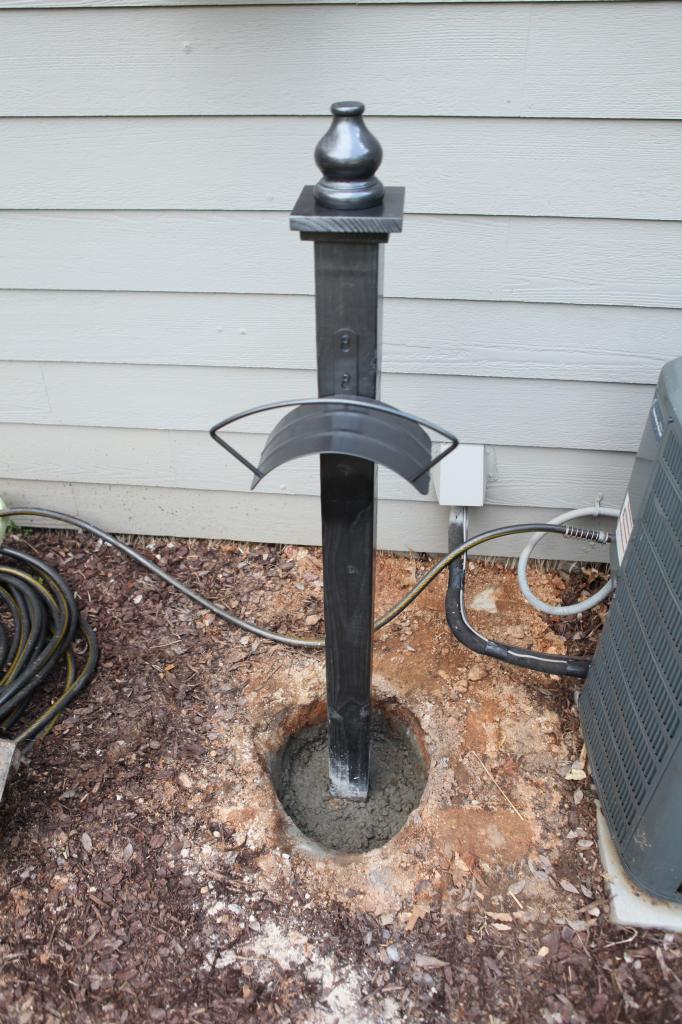
Ta-da!
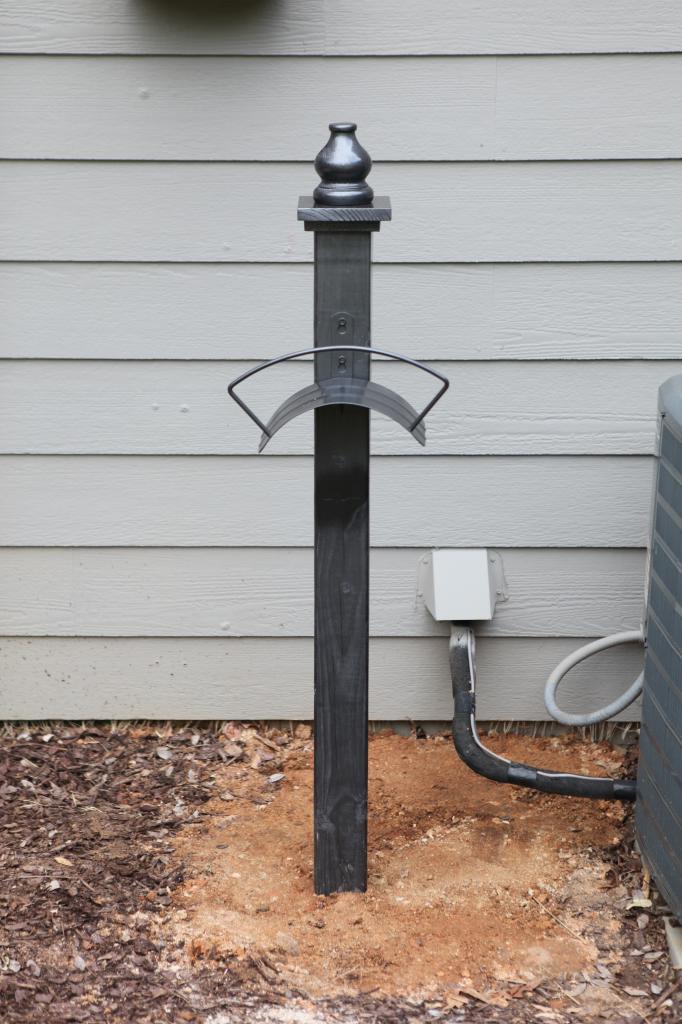
Our mulch needed a little pick-me-up so we added about five new bags in this area. Whoever invented mulch God bless them. I guess that is just a shredded tree and God invented those…so God bless God.
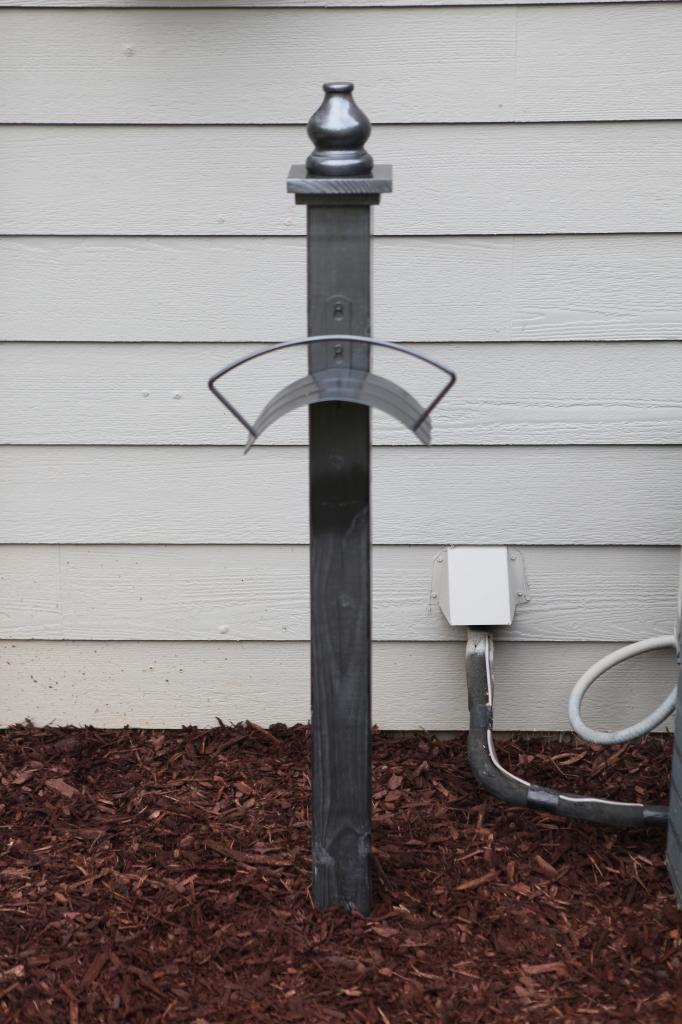
It was so pretty the hose just climbed up the side of it and hung on the rack all by itself.
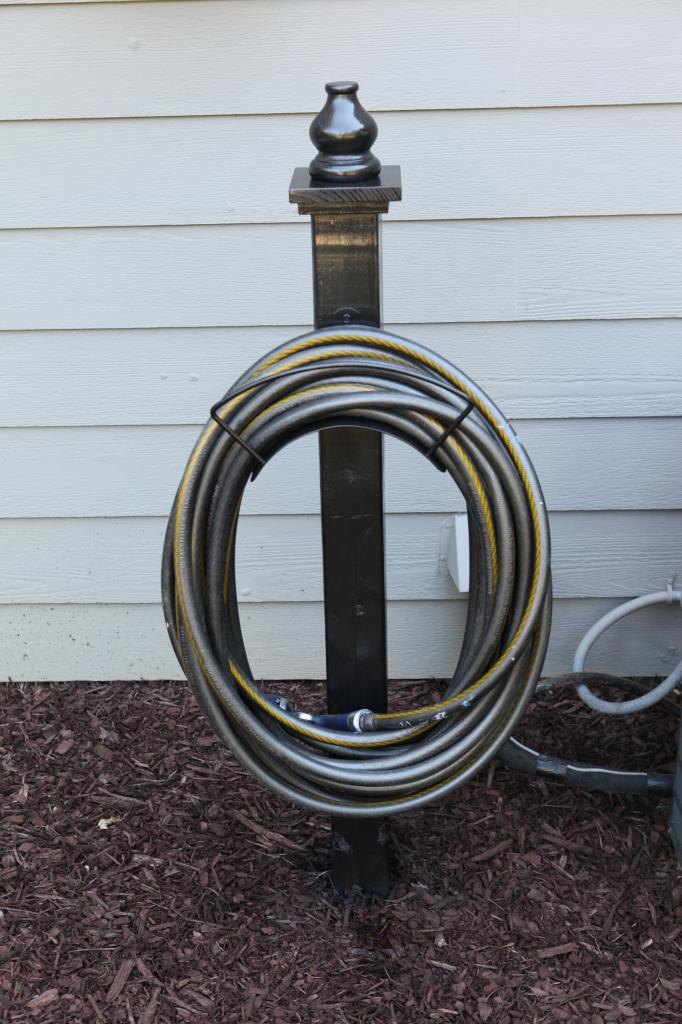
Now for some mind-blowing before and afters….
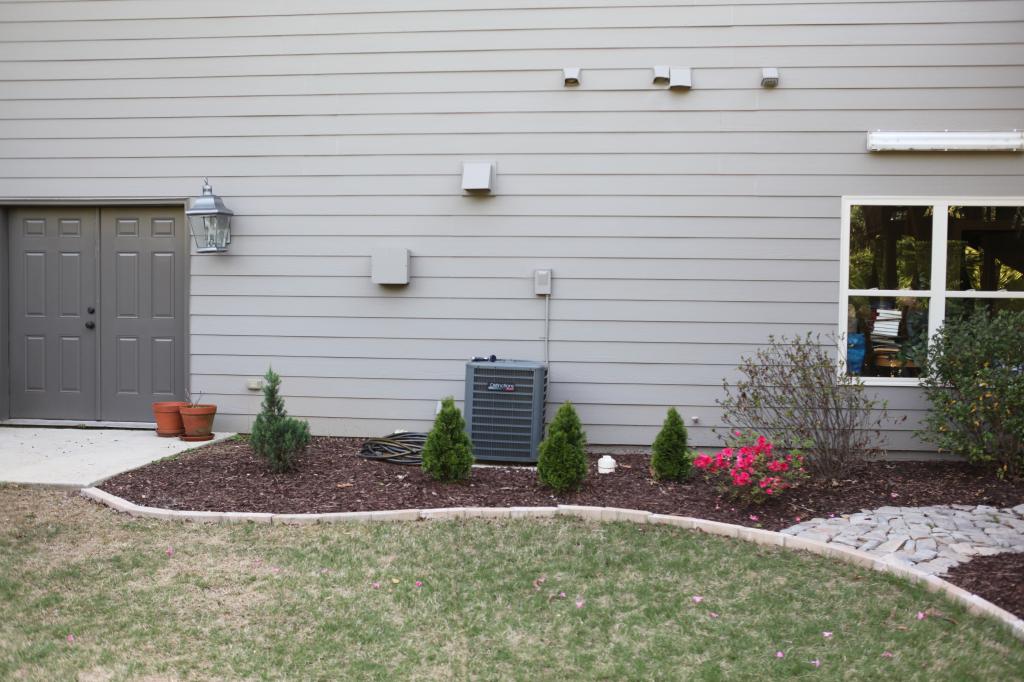
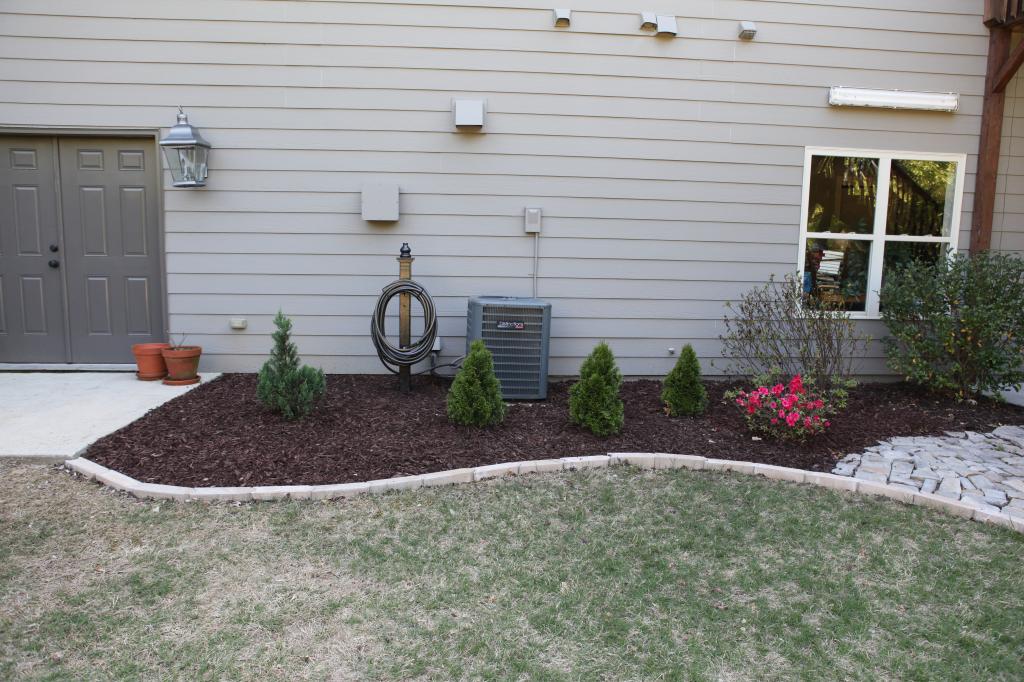
Let’s see that magic again…

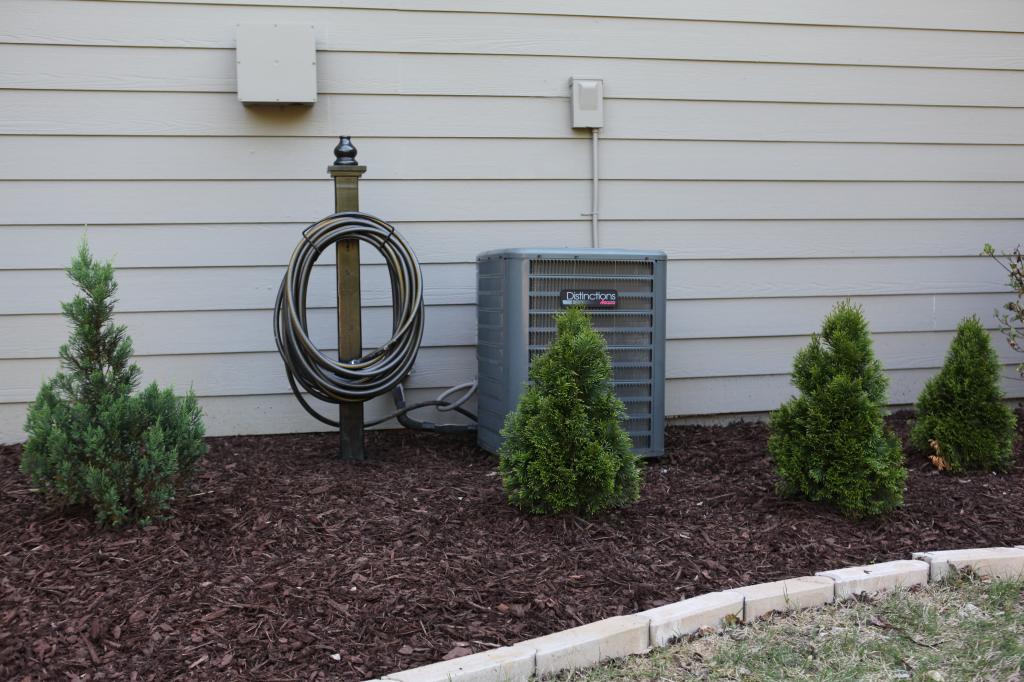
I know. You can barely believe it’s the same space, right?
Seriously – contain yourself. Now go build a hose holder with all that pent up excitement.
Update : Looking for more info on something you see in our house? We have a Shop the Bower House page with paint colors and links to accessories, furniture and decor!

What a great idea!!! I keep looking for something to hold the hose at my house and never can find anything that I like. This may be my next project, well my first project at my new house. Just bought an old 1960’s house in Charleston SC!!!!!
So…no kidding, I thought that was actually metal!! That is some crazy spray paint right there.
I have no idea why, but this was one of my favorite posts to read! Maybe it was the God bless God part. So funny! Great hose holder, too. 🙂
This is seriously perfect timing. We need a hose storage device, and we just haven’t been able to pull the trigger on one for all the reasons you said. One of those metal hooks would work, but we don’t want to put it into our brick. So this will be perfect. Thanks so much!
that looks great Katie! awesome job as always 🙂
I love this idea for an inexpensive way to contain miscellaneous hoses! How awesome! I think my hubby could make one…or three…of those as well! Love it! Thanks for sharing. 🙂
We’re almost done building a new home in North Carolina and they said we shouldn’t use wood multch (the HORROR) because of termites. I know you live near Atlanta and they have termites there too….so just curious if you’ve ever heard of this craziness.
We mounted our hose rack on the outside of our potting bench since it would be blocking the old hose location. The hose threads under the bench and then up and around the rack. Since I don’t have tiny children to dig and stand on dirt piles for me (you lucky momma) “we” means me and my paid handyman. I fully consider I’ve done something if I’ve planned it out, bought the supplies, scheduled handyman Tom, made his lunch and wrote the check. Whew! I’m exhausted all over again!
you’re so funny! and i am SO about to do this – where has this idea been all my life?! i have 4 random spots around the house where hoses are just laying around….and i have the same issues as you – they keep getting dirty or they just become a nest area for bees and things. thank you!!!
We know that mulch is a termite magnet but to us, our house is brick and hardie siding so termites aren’t quite the threat that they would have been in our old house.
xo – kb
I’ve been planning to build something pretty for my hose all summer, but the summer got away from me and my hose is still coiled up on the ground, soon to be stored for our long Michigan winter. I’m going to keep your post and finial idea in mind for next year. So, thank you for sharing – and for never failing to make me laugh!
Your “before and afters” cracked me up! Thanks for making me laugh after a long day. 🙂
Really cool! I would’ve sworn that was metal from the first pic!
Our hose box would tip over and I was always scared there were spiders hiding inside. And really, the box isn’t that much cuter than the hose on the ground. I’m so pumped about this – I don’t remember it from Centsational Girl at all! Thanks for the tips 🙂 You are on FIRE lately with all these posts! I’m loving it!!
I love the simplicity of it. We have the plastic thing and I hate it. I never wind up the hose and if I do, it’ll fall over when I get the hose out. It’s big and ugly and just an eyesore in my pretty garden. I may have to make hubby do this… or wait until we move and then make him do it. If we move. 🙂
Looks good! But I’m wondering what the white thing over the window is? It sort of looks like a fluorescent light??
Love it. And I love the quikrete info – I need to re-set the mailbox in some concrete. This is a great alternative to attaching the holder to the house, whenever I see that I cringe.
I’m still stuck on the first few words of this post: “Right after LJ was born.” You are amazing!
Nice!
It is. Insert a screeching noise here.
xo – kb
Can’t wait ti make my hose holder. Will post the pics. Thank
I showed this post to my husband and he was inspired to make one of our own. I did Change the finial to a solar light, but otherwise I am happy with how it turned out!
Love that twist!
xo – kb
Great job! Thumbs up! Thanks for the lovely post!
I’ve seen this in a magazine but not w/your great tutorial! Love the solar light topper idea or a copper fence post top would be pretty. I can see why you are OK w/ Jeremy bending over to pick up the hose & I’m an old lady – at least in years but young at heart! Will have to read more from you – you are funny & a cutey! Oh, and I have one of those $50 plastic boxes – broken after 1 season & it moved when you pulled on the hose.
You might consider pulling the mulch away from the foundation. It can be an open invitation to termites! Eeek!
I’m curious to see how this has held up through the weather and hose usage over time. Could you share some photos?
It still is GREAT. I will share an update of the outdoor stuff soon!
xo – kb
I love this! we’ve gone through at least 2-3 expensive plastic hose organizers. They don’t last with rough use and freezing temperatures. Adding this to my DIY list.
I just ran across your post and you have inspired me to do the same. Also, your way of writing made me smile a lot! If you are not a writer, you certainly could be.
Good heavens, Katie…pardon me. You ARE a writer…I was so enthralled with the hose-holder project, I didn’t pay any attention to anything else…I’m losing it.
Great idea, however as a HVAC Tech, I always recommend giving a minimum clearance of 3ft around your A/C for servicing and maintenance. This will insure that your technician can kneel safely in front of the access panel. Which, in your photos, is just right of your new hose holder. Just something to consider.