I am a fan of accent walls.
So far, I’ve done the draped fabric accent wall, the green accent wall, the wooden pallet accent wall, and finally a burlap wall in Will’s room. So it’s no surprise that when I saw the photos of the brick walls in the recent Restoration Hardware Kids & Baby catalog, I was a huge fan. Like Rosie O’Donnell was a fan of Tom Cruise huge. That’s showing my age, isn’t it?!
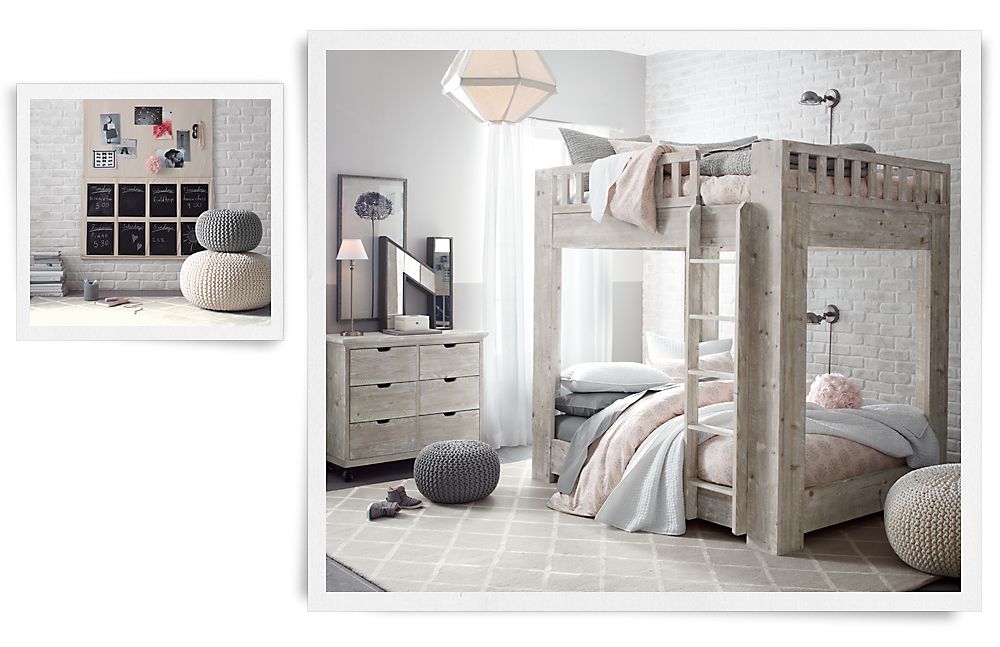
This post is all about how we installed a faux brick wall in Weston’s room. It’s very very easy.
The funny thing is…in middle school I went to a church where the youth room had a fake brick wall. Since it was for middle and high schoolers, they had ‘street art’ spray painted on it. You know. Because that is what says Jesus to middle class suburban kids apparently 🙂
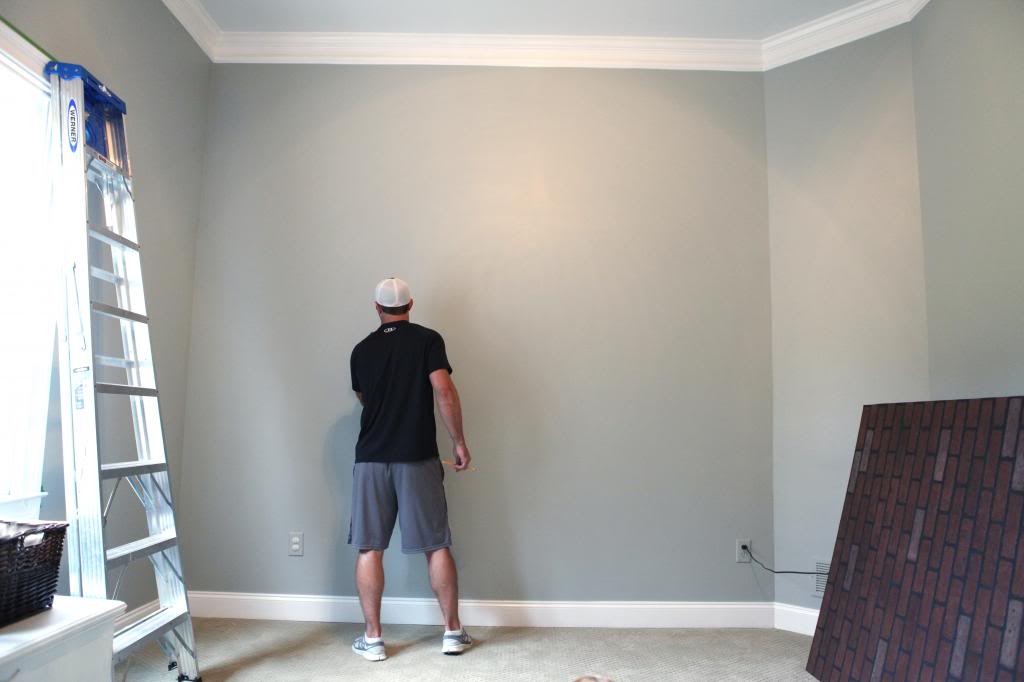
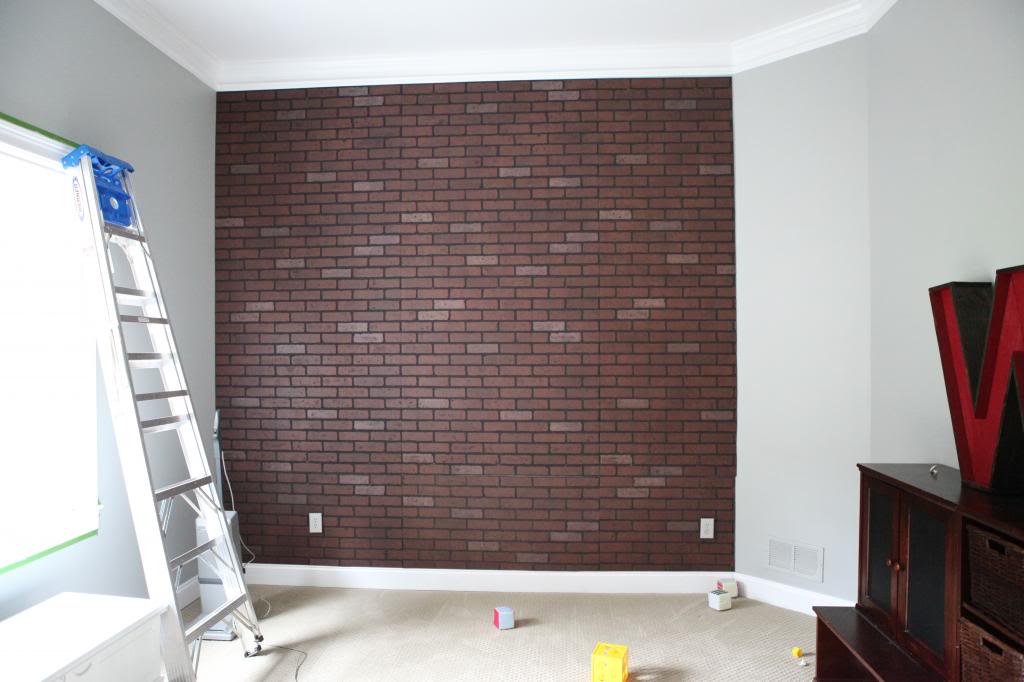
Okay so how did we do it?
First we bought four faux brick panels at Lowes. They run about $22 a piece and come in a sheet like plywood. They are available in the same section as the beadboard. Then we set them up in Weston’s room to acclimate to the temperature and the moisture levels.
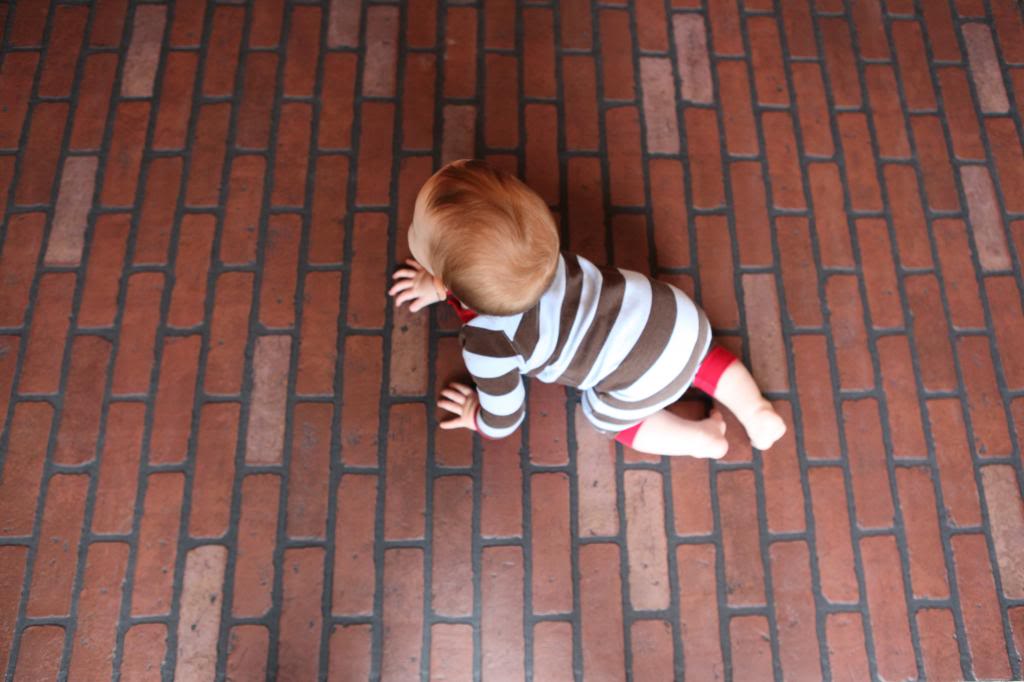
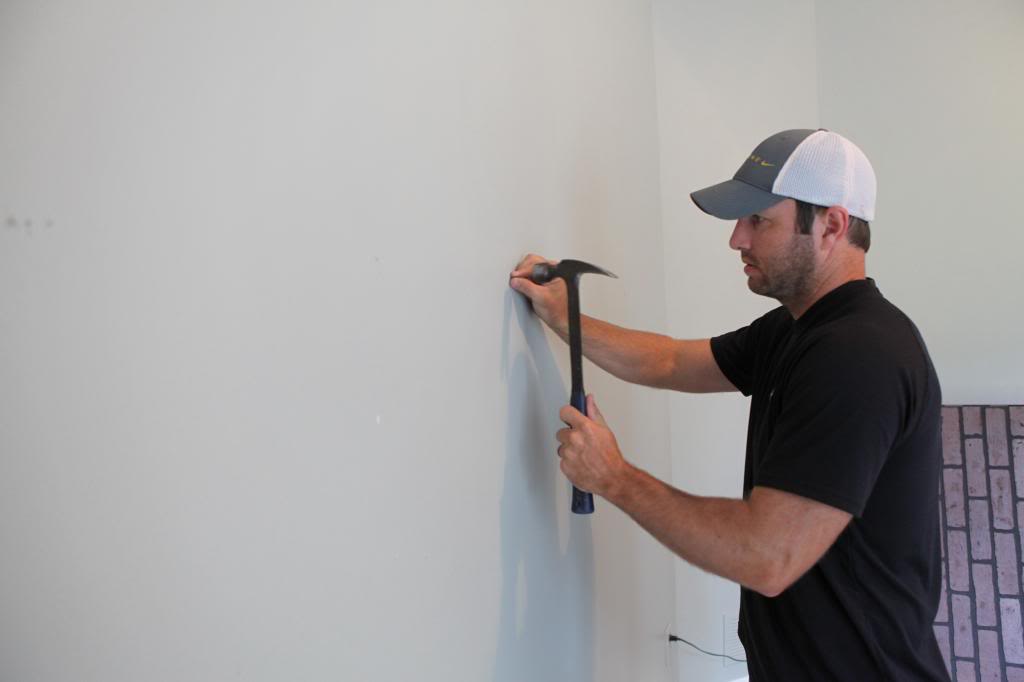
Then came time for installation. Jeremy marked all the studs in the wall.

We also did a ‘nail test’. It’s the easiest way to ensure that studs are in the right spot…especially when you deal with walls that are holding surprises (like ours tend to do).
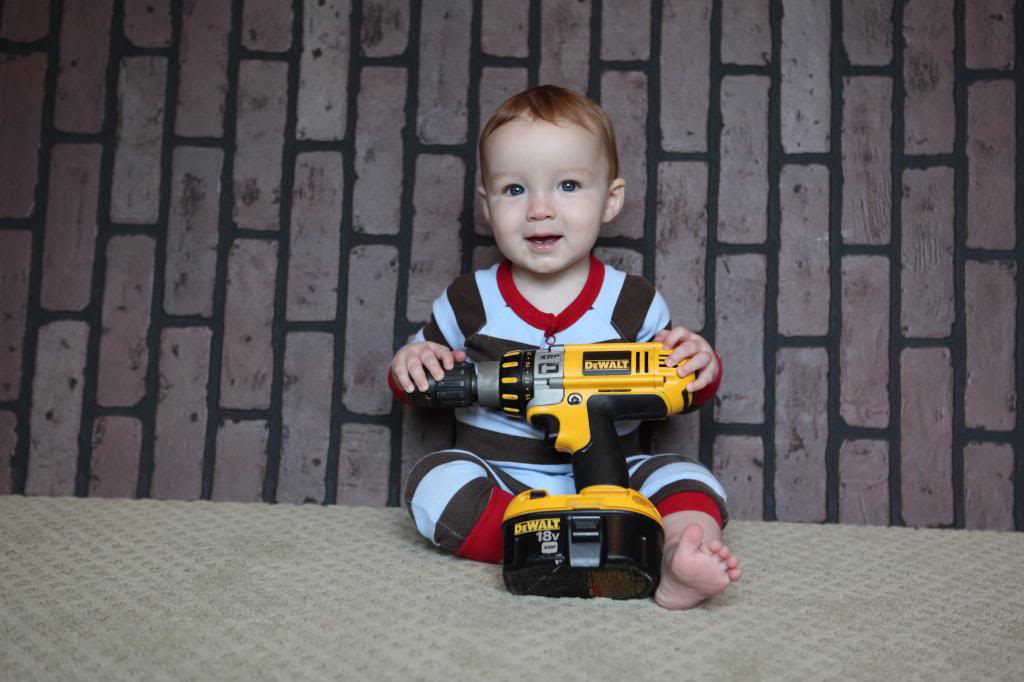
Obligatory cutie photo…

After you measure the location (and double check it with the nail test) of all the studs, write down the measurements from one wall. We chose the left hand side as our start wall so all the measurements were from there.
Then we laid the boards on the floor and measured and marked the location of the studs on each board.
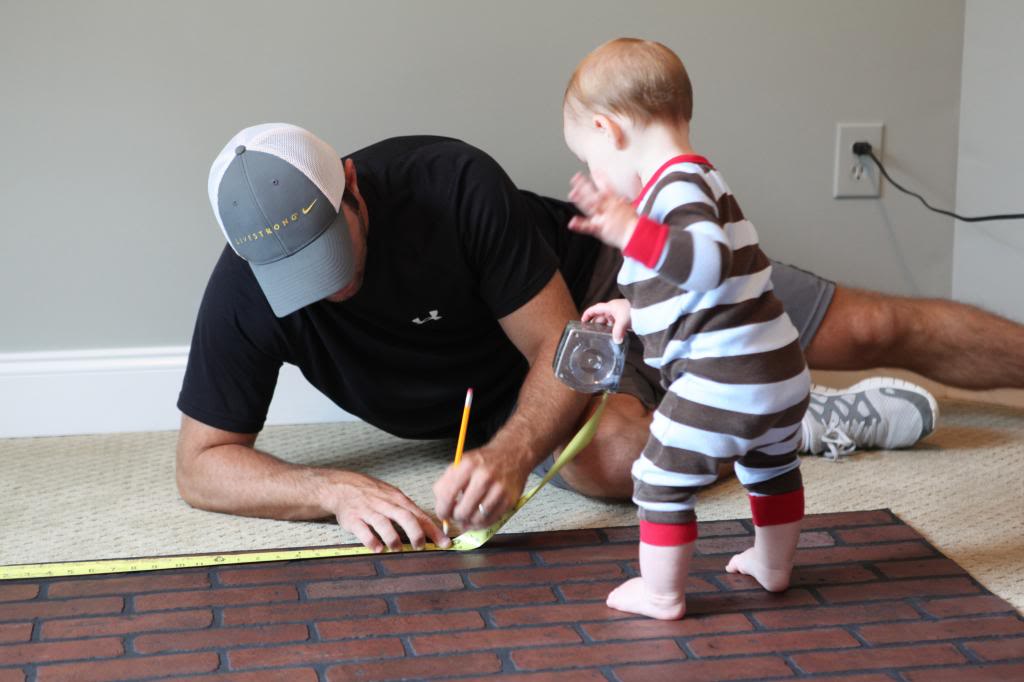
We did about nine screws in each board – three at the top, three at the bottom and three in the middle. And we tried to mark all the spots in the ‘grout’ areas of the faux brick so that the screw heads wouldn’t mess up the look of the brick itself.
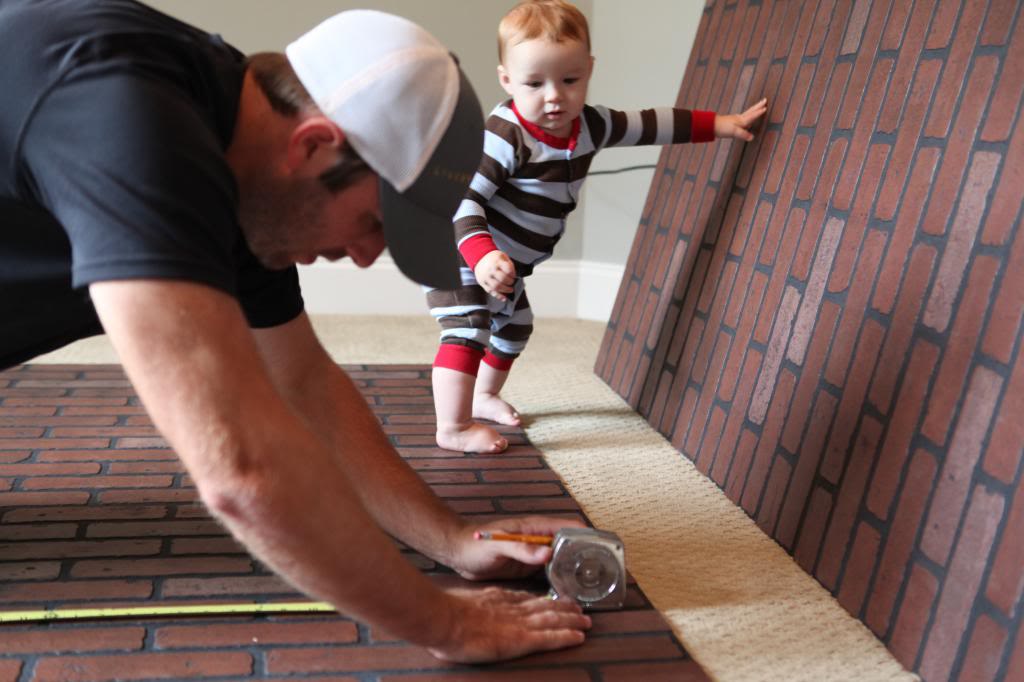
Here’s where we did something a little unorthodox. On the back of the paneling, it was recommended to use nails. We used screws because I married a Mr. Overly-Secure-All-Things-To-The-Wall.
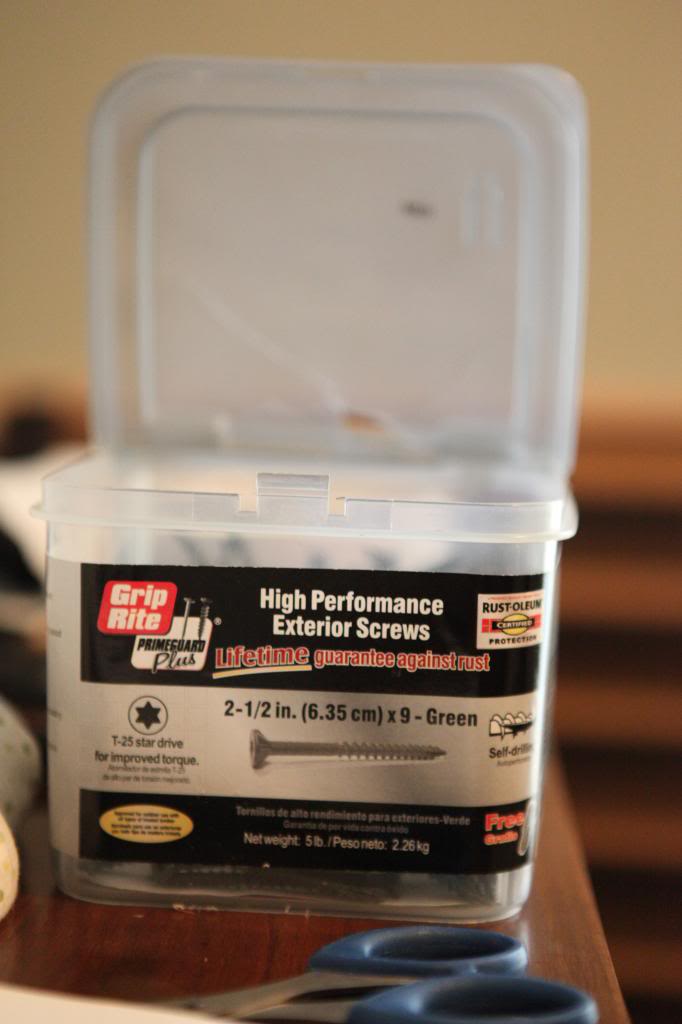
Then you are also gonna need a drill and a hammer and nails.
So I made the decision that the seams should be near the bottom. The ceilings in Weston’s room are REALLY high. Twelve feet high. And because the ceilings are so high, they required us to stack panels on top of one another to cover the entire wall. If the seams between the two panels are high, then they would be more noticeable. If they were low, then the furniture would sit in front of most of the seams and therefore obscure any real imperfections. But because we are just a dude and a pregnant wife, we have only one source of upper body strength. Jeremy needs to work out more. KIDDING.
Our solution to my incredibly jello-like arms was that Jeremy stood on the ground and lifted the board up the wall (pushing it all the way up to the left hand wall and the crown molding). Then I used one nail to hammer it into the center marked place at the very top. IT WORKED! The board stayed up just with one nail allowing Jer then to screw in the rest of the marked screws into place.
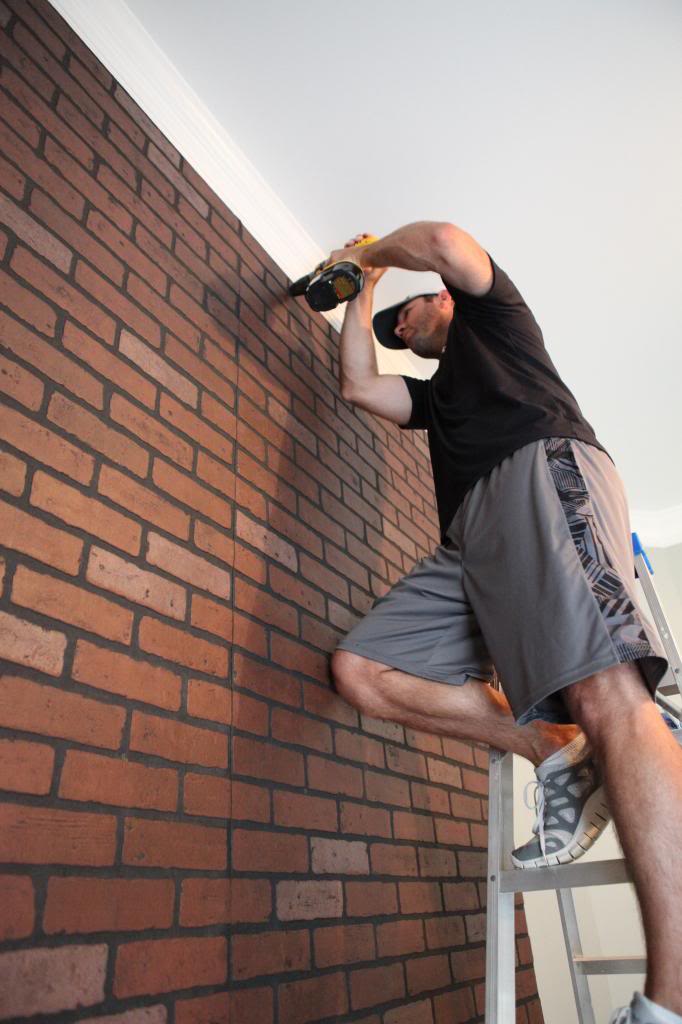
The first two boards were a breeze.
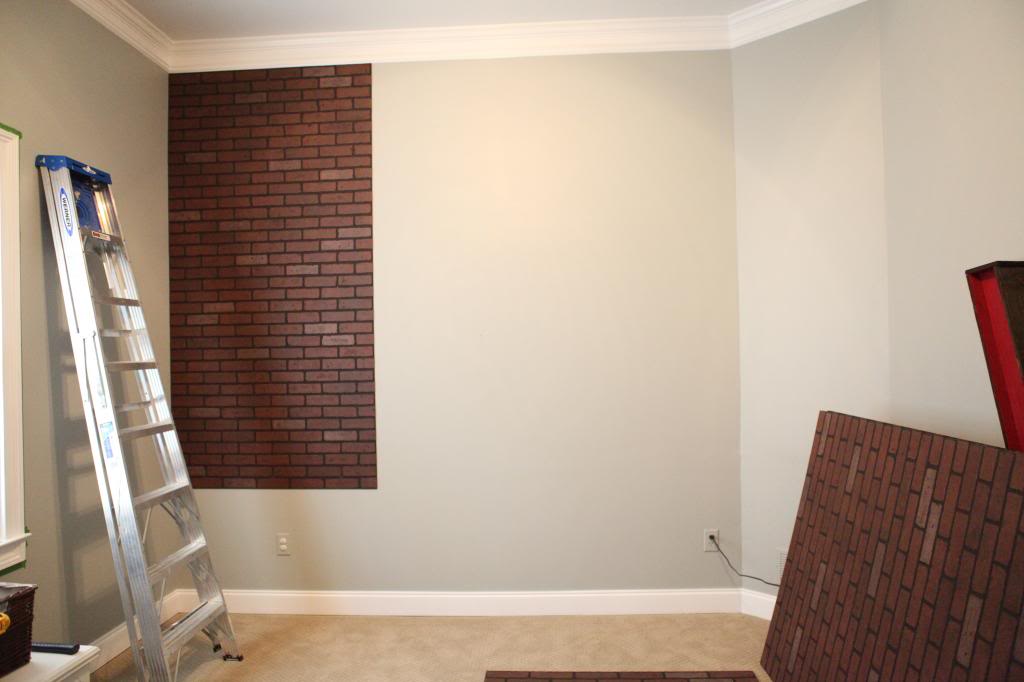
It’s because they didn’t require any cuts.
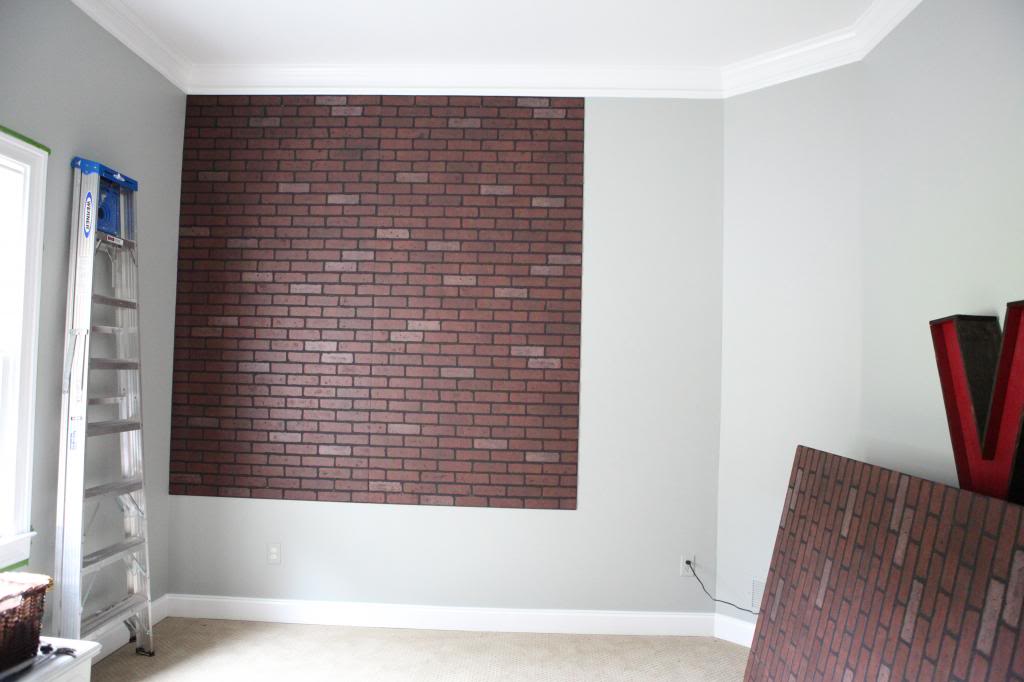
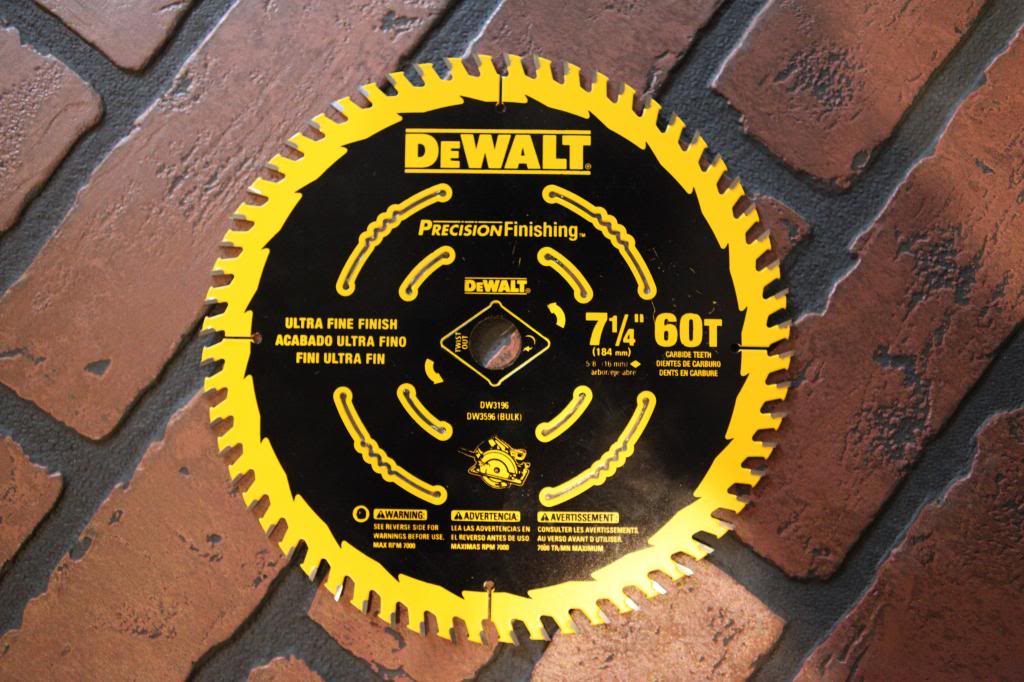
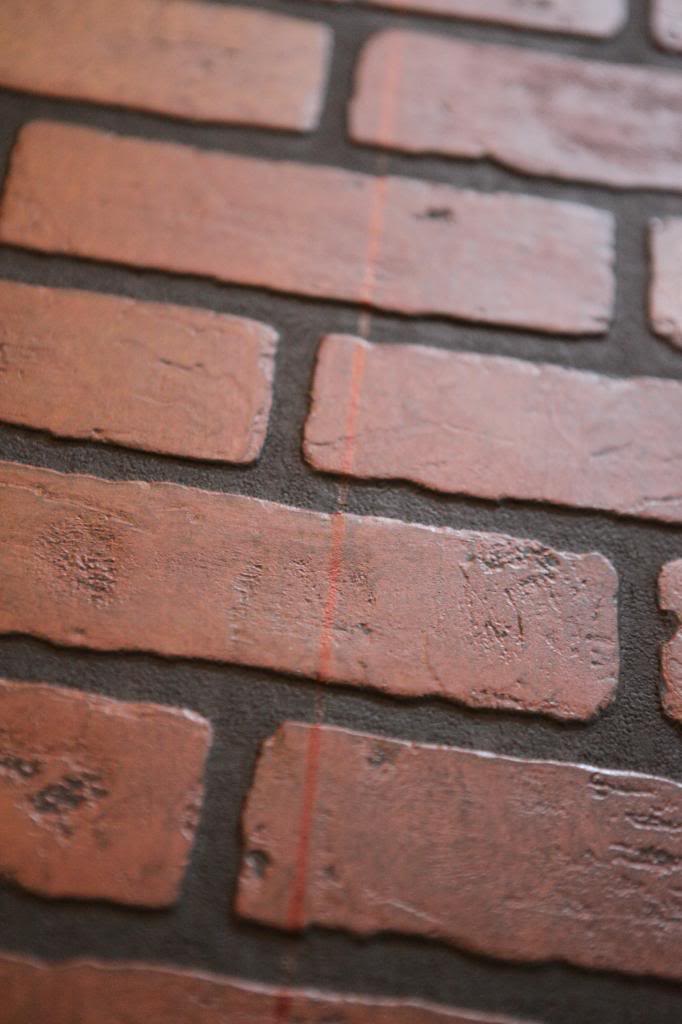
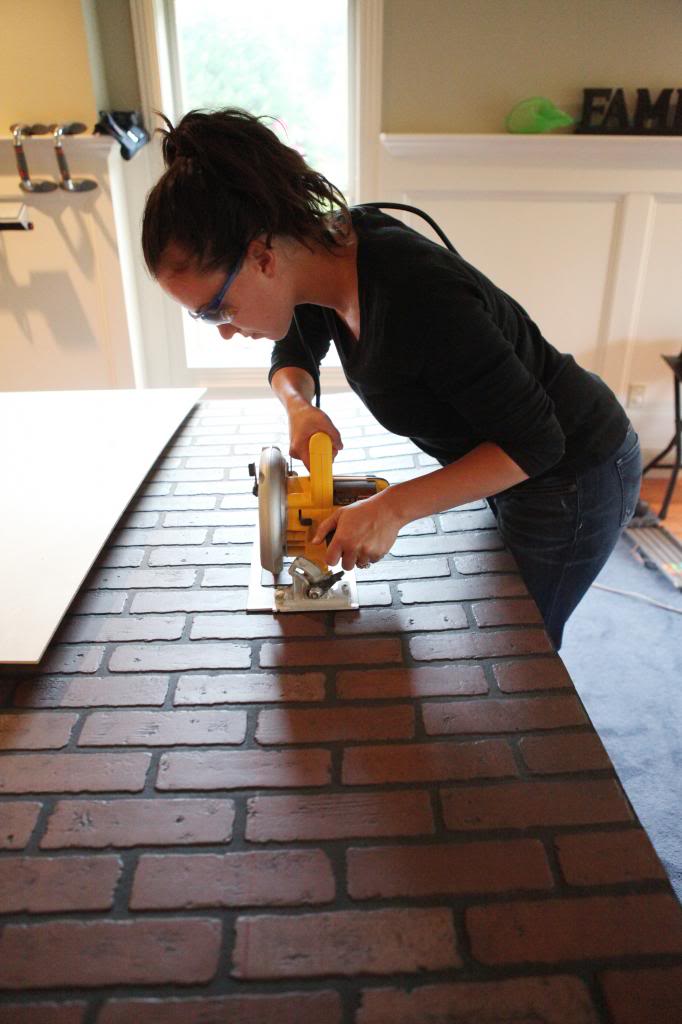
Then came time for board number three. This one did require cutting. So we had to purchase a ultra fine circular saw blade. And we just marked the line right on top of the board with a marker.
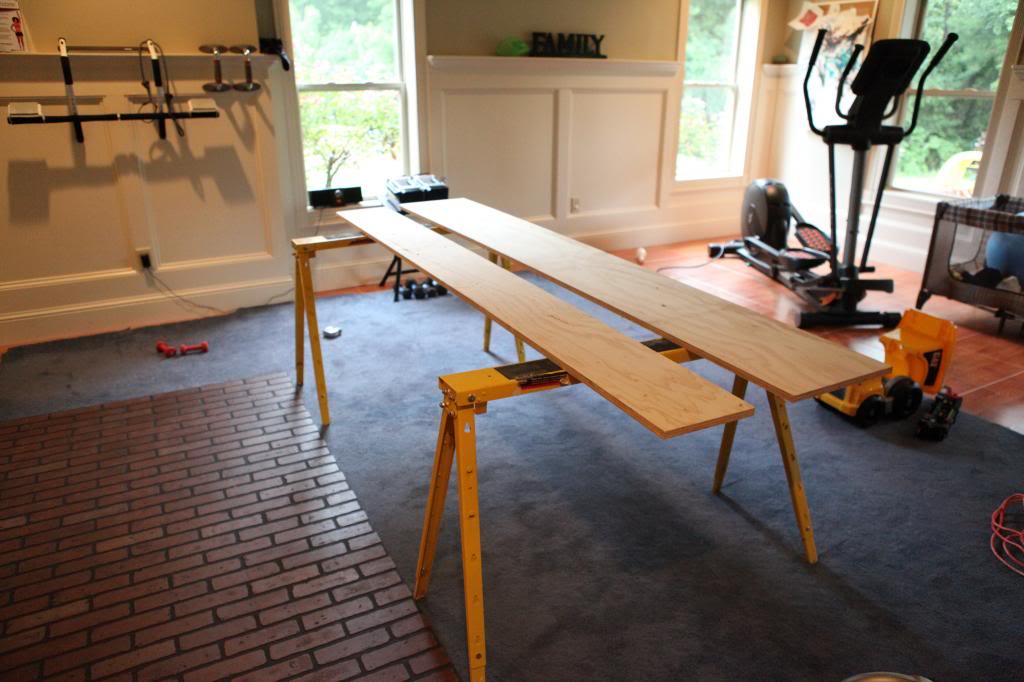
Our set up was in the basement. Bad idea. This stuff creates a huge cloud of black dust.
Jer and I marked the line to cut and then double checked everything.
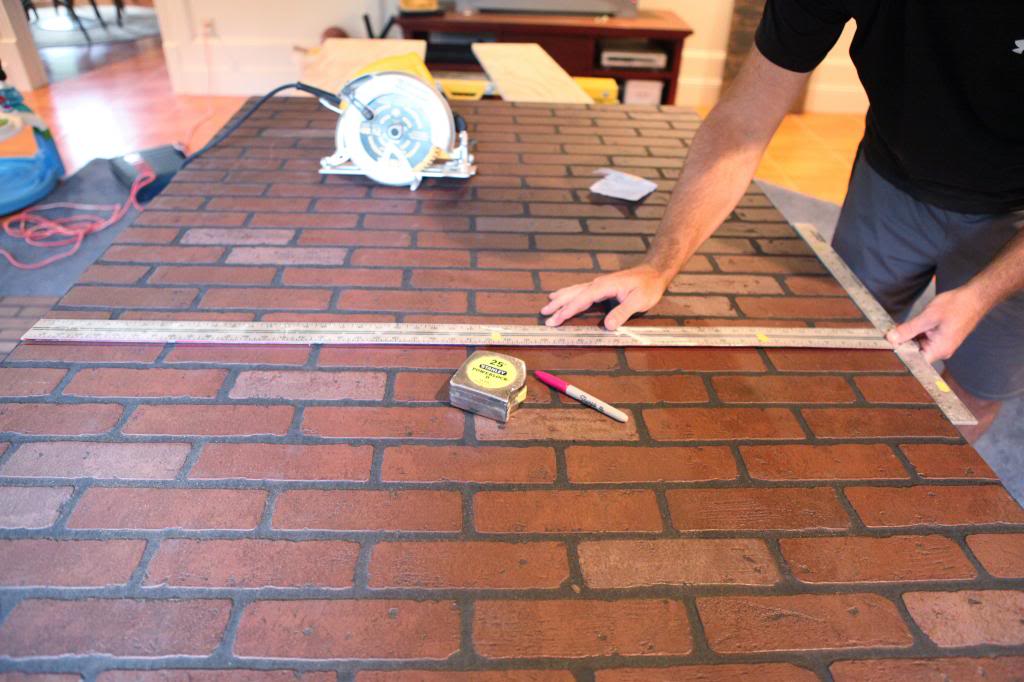
Then using the circular saw, we slowly cut the board to the right width. (I’m a righty and Jer is a lefty and sometimes it just makes things easier if I cut things.)
Then this board required only six screws.
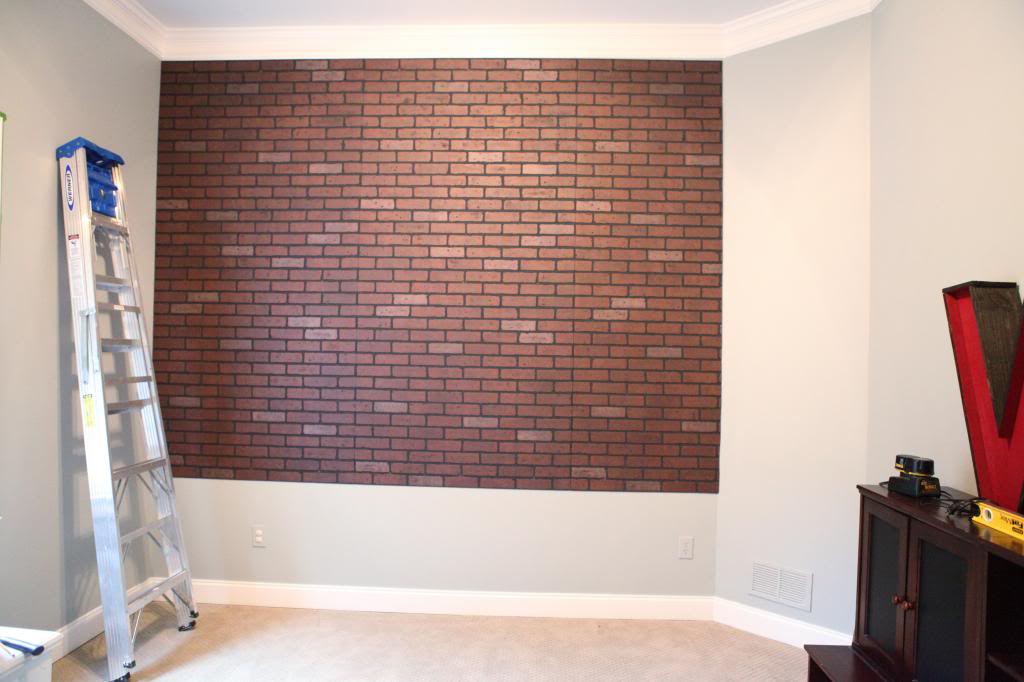
Then we repeated the process for the bottom pieces…cutting it to the right height (and making sure the bricks would be in the right pattern before making any cuts!).
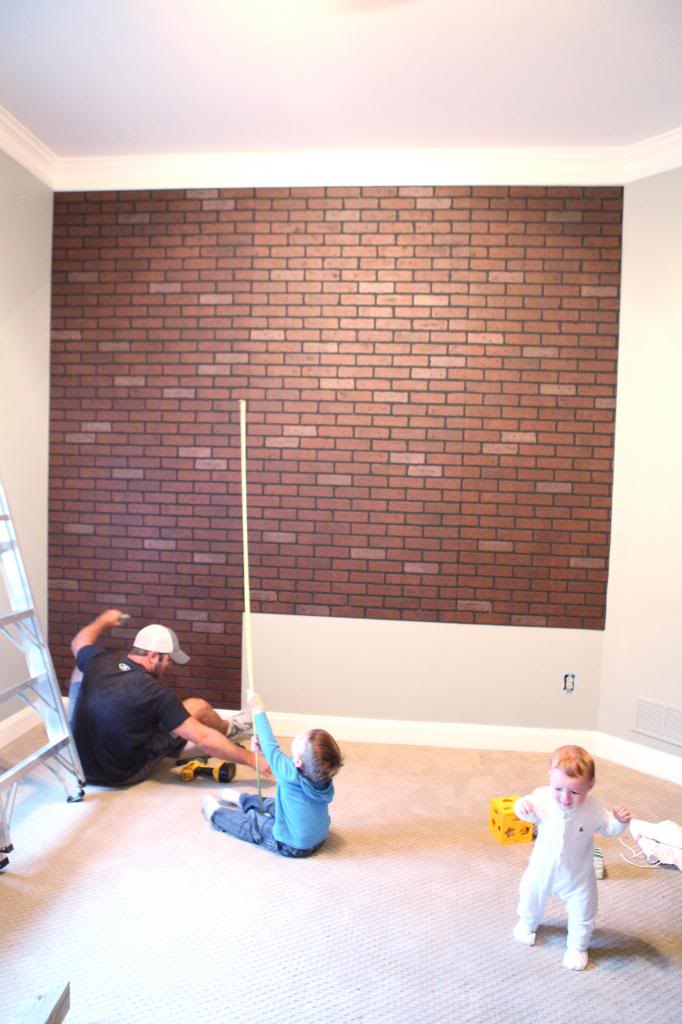
The only little thing at this point was cutting out for the electrical outlets. Jeremy measured the location, marked the size and then used a drill bit to start the holes in the corner.
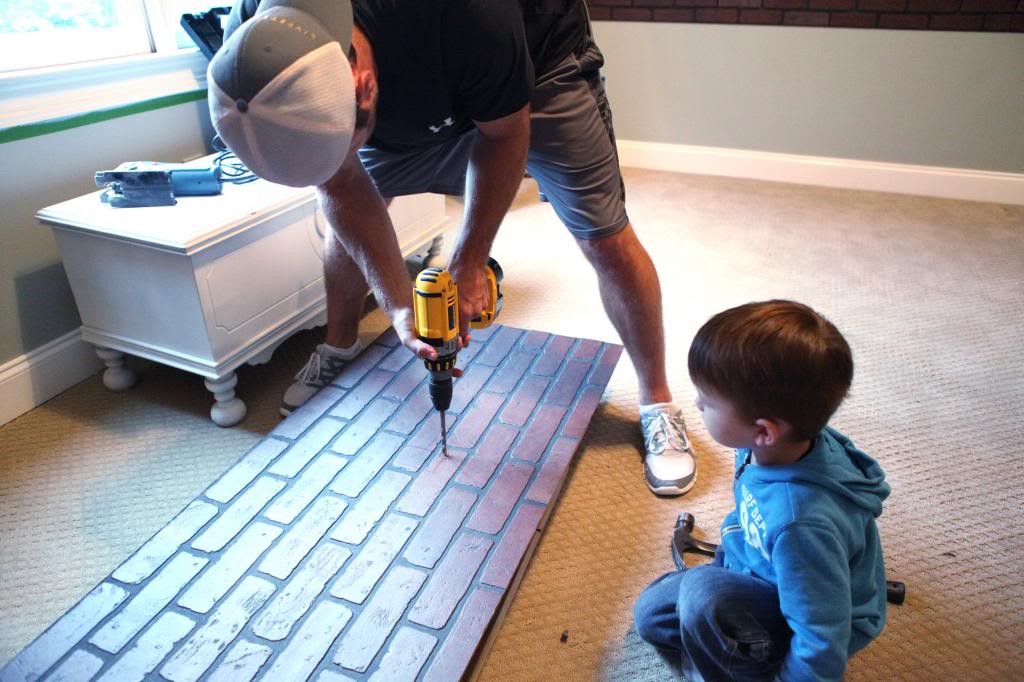
Then we propped the boards up on 2×4’s and used a jigsaw to cut out the little rectangles.
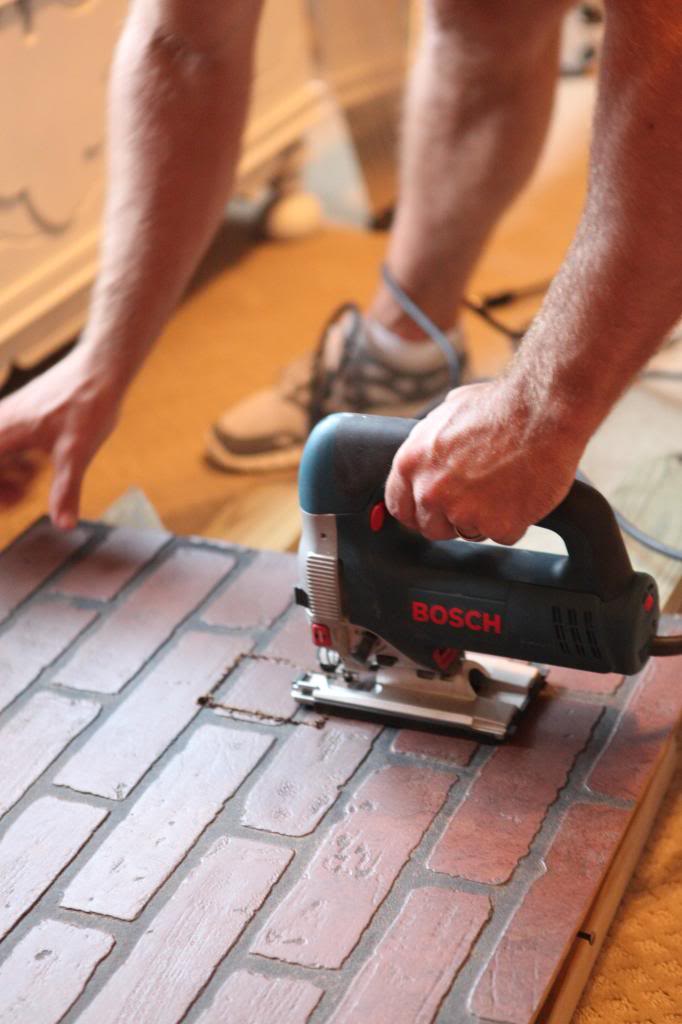
Repeat…screw…repeat…you get the picture.
Speaking of picture…I love this one. It is such a true representation of our life right now. Nothing gets done without two little ones literally on top of the project.
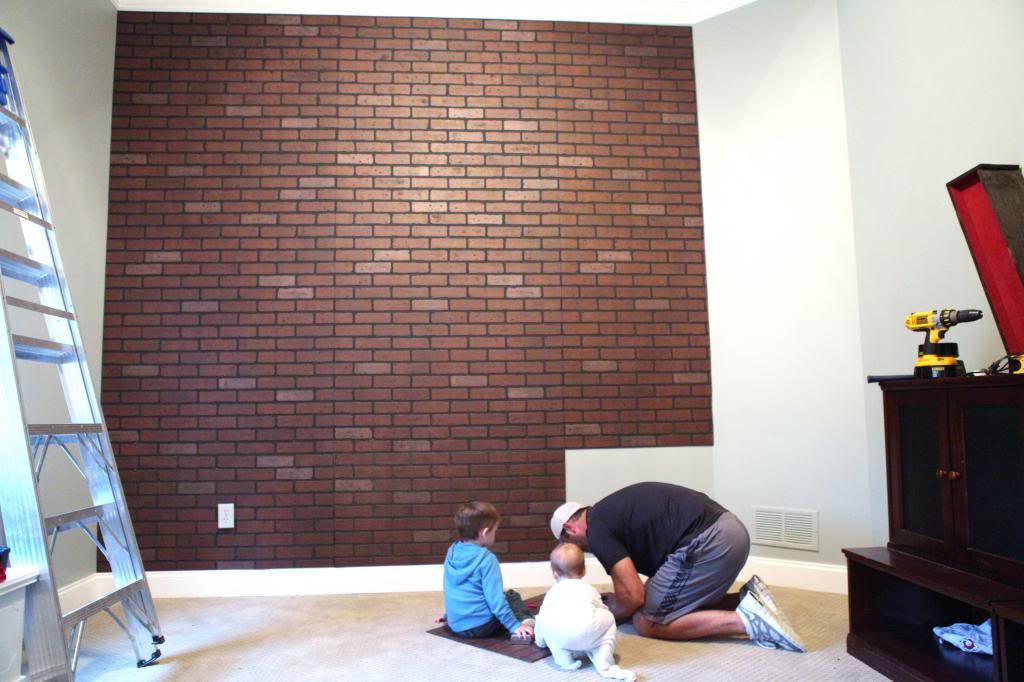
In the end, we absolutely love it. And I think that it was the perfect accent wall for our little guy. Granted…it still needs paint to make it look like the RH walls but for now, I’m loving this look.

Update : Looking for more info on something you see in our house? We have a Shop the Bower House page with paint colors and links to accessories, furniture and decor!

Oh, I love it too.
Can’t wait for you to finish it.
I keep saying this, Katie….you and Jer do great DIY together…and your kids are great!!
Keep it up!!!
B.
Ahhhhh! I’ve been dying to see this since you put the picture up on instagram! I can’t wait to see it painted. I’ve been trying to think of something to do on one of our living room walls. I had no clue they sold faux brick panels! This would look awesome.
Love It! It’s gonna look awesome! Love the pic with Weston holding the tape measure!
…
Hi Katie,
This wall is amazing! I love the Pallet Wooden wall you did in Will’s old room too! Such a great way to add interest to a room!
Thanks for sharing 🙂
I LOVE IT SO MUCH! $22 huh? I am thinking that two of those would make a great photo backdrop. Now hm… with or without graffiti…. lol.
I’m curious what else will be going in this room.
Some folks I know whitewashed a faux-brick wall in their restaurant that turned out really great.
http://www.harrowsf.com/p/photos.html
Looks great!!! I can’t wait to see it white washed;) following you on Instagram I’ve been waiting for this reveal!
It’s funny how all of us have walked past that stuff at one point or another at the home improvement store and thought, “who would buy that stuff?!” Way to see past it’s surface value and to realize it’s true potential!! I’m sure it’s going to look amazing once you’ve painted it.
I love the picture of Weston leaning against the paneling as Jeremy is measuring. It’s like he’s saying, “Look! I’m helping!” Kind of like when my husband is working on a project and I contribute by handing him bits of painter’s tape…
This is such an amazing idea I never could have thought of – I can’t wait to see it painted! Then I might have to do the same 🙂
so creative! love this idea to make vanilla walls look special.
Love it!! What a fun accent! We exposed the back of our fireplace in another room and gave it the same treatment as your inspiration photos. I smile every time I am in that room looking at it!
Good luck!
I can just imagine how spectacular it’ll look with paint and all! O_O I MUST HAVE IT
Nice job btw with working with two littlies around – mad respect. How you get any DIY done is a mystery to this mama.
SO OBSSSED! This looks so fantastic. I love how you had your helpers too 😉
Xo Kylie
You’ve got some mad nursery deco skills Ms. Bower 🙂 Can’t wait to see this with the paint up! I loved Will’s nursery, so I’m pretty pumped to see how Weston’s room turns out.
It looks SO good! I can’t wait to see what all you do in his room.
I love how all the lame stuff of our childhood seems to be so cool now that we’re older. Like faux brick, wood paneling, herringbone, Fun Dips (whoa, that last one was never lame). I’ll admit your faux brick is better than I expected, and I think it will look pretty awesome once painted 🙂
Kid room meets SoHo loft! I love it!
YESSS!!! LOVE LOVE LOVE!!! Can’t wait to see it! And seeing pics of Weston while you guys are DIY-ing makes me think of Will at the same age and think that time has gone by so fast. Am I creepy? Hahaha Love it KB
X Melissa
I love this! Wonder what this faux brick would look like as wainscoting…hmmm.
Your babies are absolute darling. The pic’s of them helping dad are so precious.
JaG
This is really cool! I had no idea you could buy faux brick. You have such neat nursery ideas! 🙂
I had not idea this was sold at big box stores! It looks great! You have some cute little helpers!
Love it! Can’t wait to see it painted. Btw, I attended a taping of the Rosie O’Donnell show many, many years ago 🙂
I saw Ikea doing this recently in their in-store displays. Has me jonesing to do one myself and paint it a great light grey or white….
Wow! You seem to have it all figured out… What star sign are you and bday? 😉
You need to do some house tour messy video again in your new house.
Waiting….. for more pictures.
Love it!! I’ve always wanted to do this but since we’re planning on moving soon, it’ll have to wait. I wish I had a Mr. Overly-Secure-All-Things-To-The-Wall. I’m all like “we don’t need an anchor. It’s all good.” Until it falls.
Love all the photos of the kids “helping”! It’s like that over at my home, too. Can’t wait until they get old enough to actually HELP 😉 The wall is looking good, can’t wait to see it painted.
Looks so awesome! I’ve been wanting to do a brick wall somewhere in our house. My husband thought I was over that idea, but not anymore now! Haha. Thanks for the inspiration.
Hey Katie! I know this is sooooo random, but we are re-doing out laundry room and we don’t have a window in the room. It has a very dim light and makes the room look dull. Do you have any tips to brighten up the space? any lights or light bulbs that have worked for you in the past? any wall colors? please let a sista know. we are so lost!!!
here is our laundry room:
http://allsortsofricci.blogspot.com/2013/06/oh-laundry-room-oh-laundry-room.html
X Melissa
That’s going to be so cute! My husband wants your ceilings (he’s 6’8″). I want your patio!!
We just purchase our first home and from day one have wanted to put up a brick wall in the den/man cave. I’ve been debating between the faux panels like you’ve used, and the real brick tiles. The tiles are soo expensive compared to the panels (up to 6x as much) and super labor intensive, but we are terrified the panels will not have the finished look we want. I’m anxious to see how you finish your wall, maybe it will be just what we need to push us in the right direction!
Love it! I have been thinking about doing this on our living/dining room wall, and now think we could pull it off!
You know what? Thank you. Thank you, thank you, thank you. I have mentioned doing this exact application to those around me a dozen times, and they all act like I am crazy. I cannot wait to wave my phone in their faces and say, “Nuh uh!”
I’ve been wanting to do this for so long, but renting doesn’t really allow it! Can’t wait to see how it turns out!!! 🙂
“Pregnant Wife”???
Congratulations…? 😉
And the wall is awesome too! 🙂
We just did this a few months ago too! Made our first baby boy’s room into a “man cave” — so cute!! We also figured that down the road when it gets “old” we would have the option to paint it just like you have plans to.
Wow that looks awesome. By ‘it still needs paint’ you mean the neon splatter train car graffiti right 😉
LOVE IT!!!! Can’t wait to see it finished. We have a brick wall in our kitchen that I hope someday that I can figure out what to do with it to make it POP!
Okay, so all I could think of is z-brick at the first picture and I’m screaming NOOOOOO! But then when I read at the end that you are painting it, I let out a huge sigh of relief! Thank you for not leaving that as is! LOL
What an awesome idea to ad texture to a wall! Seriously love this!
http://happinessiscreating.com/
I LOVE IT!!! I cannot wait to see it painted! So happy for you all your newest addition on the way. I am always impressed with your patience as you tackle tasks. I only have one baby and it makes it complicated. Way to go momma!
Mighty mighty, just lettin’ it all hang out!
Love your blog!
This is a really interesting idea! I love it!
I have to tell you that the last pic of the boys “helping” Jeremy is just beautiful 🙂 I’m sure at times it makes it a little difficult to get things done, but those moments are soooo memorable.—-and is Weston walking!!! He is a month younger than my little one and mine is standing but not really taking steps yet.
Oh, I love it! I had no idea faux brick was a thing. I think I’m going to declare myself a fan.
WAIT! Did you just say “a dude and a pregnant wife” ?????
Cute! I can’t wait to see it painted. I have to admit, the unpainted product reminds me of the brick linoleum that my mom had in our kitchen growing up. Talk about some old memories!
I was scared at first but now I realize you are going to white wash the wall. Can’t wait to see the finished product.
Weston wins the photobomb award by a landslide! I love how in one picture, it looks like he’s helping hold up the measuring tape, then in the next he’s helping hold up a panel. I’m still laughing! 🙂
I’ve been so excited to see this post since you gave the insta-sneak peak! Love the photos of the little guys crawling around in the middle of the project. That’s the only way we get anything done either! Can’t wait to see what’s next!
This looks awesome — can’t wait to see it all painted!!
I wouldn’t have thought of this affordable way to make a “brick” wall in a room… nice idea! Can’t wait to see it painted.
Love it!!! I want to do something along these lines in my sons room and maybe a planked wall in our room. But my hubby is a hard one to convince 🙁
Looks great! And that’s one beautiful family you’ve got there :). Just curious… does your hubby always wear a baseball cap around the house, or is it just for pictures?
I totally would not have thought of using that faux brick…I am loving it! I will have to file this in something to consider for my new house!
I love this so much it hurts. We are renting right now but will be in this house for a few years while we save for a house. How bad do you think this messes up the walls?
Well, the screws would be going into the drywall…which would need patching…but I don’t think it’s super destructive if you don’t use glue.
xo – kb
Always. He comes home, changes out of work clothes and into his ‘house uniform’ which usually includes a t-shirt, shorts, and a baseball cap. I don’t mind though…it looks great on him 🙂
xo – kb
Yup! Did you miss the announcement? I’m already technically in the second trimester 🙂
xo – kb
haha! Baby gang signs 🙂
xo – kb
I love the direction this is going, so much great texture!
I have no idea! My birthday is in February 🙂
xo – kb
I always say that for small dark spaces think light monochromatic colors, and less is more…and bigger is better. So if you do an artwork piece…go big 🙂
xo – kb
I LURV brick accent walls. I think it adds so much character! I had honestly never thought about adding a faux one to my house, though. Do you plan on keeping it the natural red color, or do you think you will paint it?
I love this!! I always wanted an accent wall, but couldn’t find one I could “commit” to. I may just have to copy this! Might look fun in a kitchen…
We already painted it 🙂
xo – kb
Hey Katie-Totally random but do you have any great ideas for pregnant Halloween costumes? I don’t want to paint my belly or have a “bun in the oven”. I have loved your creativity in the past with Halloween.
Thanks!
Callie
Clearly faux brick walls are the new photo backdrop. They even make a saw blade look pin-worthy!! So far I am loving this look you have going on!
WOW, I’m lovin where this is going. I had no idea they sold these fake brick walls – now you’ve got my wheels spinning 🙂
I am head-over-heels in l.o.v.e. I can’t wait to see moreee!!!!
What?! I must be living under a rock or I should probably blame it on my own pregnant brain (38 weeks and counting :P). Totally missed your announcement, but either way congratulations!!! You and Jer make beautiful babies, so keep them coming!
By the way, I’m having a girl, any chance you’re interested in arranged marriages?} just kidding … or not …
What an awesome wall! Nice work.
Wow that looks awesome!
I want a girl! I hopefully find out soon!
xo – kb
Nun? Easy button? Have fake baby doll parts coming out through your skin? I have seen all those. And I like more ironic things…like a belly dancer…or Madonna in Like a Virgin video…or snowman 🙂
xo – kb
This looks awesome!! I can’t wait to see the completed room.
Wait…..you’r pregnant?!?! I missed that post. WHAT! 🙂
What a genius idea! I’m totally loving this! Okay…now I need a faux brick wall in my house too!! Can’t WAIT to see it all painted up!
I know this was about the brick wall, but I’m distracted….
You guys make some seriously cute kids!!!!
Looks unbelievably amazing! And I love the Rosie/Tom reference! HYSTERICAL!
I was pregnant last year at Halloween and my husband I dressed up for a Halloween Party. I was a 50’s housewife and he was a milkman. I wore a full skirt (with elastic, of course), gingham apron, low pumps, a polka dot cardigan, pearls, white gloves and flipped out my hair. He wore black pants, a white button up, black bow tie and a paper hat like you see at a diary. We got everything at a local consignment store. It was fun and turned out very cute!
Love this idea! I can’t wait to see the finished project.
I just have to say that seeing your little guys so involved in what you’re doing has me daydreaming about our own future kiddos “helping” us out with DIY projects. Your boys are just both so sweet!
I’m sorry if you have it somewhere and I don’t see it, but what color are the walls? Looove it. And this brick wall is amazeballs (do people say that anymore? Probably not).
It’s Benjamin Moore’s Metropolitan.
xo – kb
Have you ever written a post that talks about DIY with kids? If you haven’t would you ever consider writing one? I have an almost 3 year old little boy and a 9 month old little boy and we live in an older home that is in need of love. I have big dreams for this little house but my husband and I feel that with kids we never have the time unless they are sleeping. Your posts recently show the boys around while you are working and I find that awesome. I think my husband would be afraid out oldest would start painting everything in sight. Your post on communicating with your husband actually has helped me a lot so I thought I’d ask for a kid friendly post 🙂
I will put it on the list!
xo – kb
When I was pregnant, I found a cute custom costume at a yard sale for $5! It was a mummy…get it? Mummy? It was basically the pattern of a tattered muslin slip dress, torn pieces to wrap around your head, add a little face paint and an Elvira wig.
Looks amazing! I can’t believe the faux brick panels were so cheap! What are they made out of?
I think they are made out of compressed wood particles…like plywood.
xo – kb
Hi!
I know this was a while ago, but can you tell me how you painted it? Sorry if you already addressed this, I searched as much as I could to see if you already wrote about it, but I didn’t see anything.
Thank you!!
Here you go!
xo – kb
Please post the pics of it painted! I’m dying to see them.
Ok, we’re about to tackle this in our bonus room. Your tutorial is awesome and has been super helpful! My question is did you paint or do anything to the screws after you finished to keep them from standing out too much in the “grout” area? I am assuming silver or any metal will really stand out against the dark grout lines but I can’t really tell on yours! Thanks in advanced!! I will be reaching out if we have any other questions because I don’t have anyone else with experience on this!!
We ended up painting the entire wall to make it white washed…so we did hide the screws that way.
xo kb
Love this! Quick question: did you have to do anything to camouflage the seams? We’re getting ready to do a similar project in our own nursery using this exact product. Thanks a mil!
Here is the painting post where I camouflaged the seams.
xo – kb
Hi. Your wall looks amazing!
I just want to leave this comment for anyone else who decides to try this – MAKE SURE YOUR CEILING IS LEVEL!! I just spent a *ton* of money buying supplies for this project (granted, this includes items a lot of you probably already own: saw, saw horses, etc. – but panels alone were $150!), only to discover after attaching the first panel to the wall that I absolutely cannot make the 2nd panel line up at both the top against the ceiling AND against the 1st panel. After struggling for 15 minutes, we checked the ceiling with a level and wow, it isn’t even close to being level.
We tried and tried to adjust the 2nd panel, but it either lines up against the seam of the first panel but leaves a wider-than-finger-width gap at the top right of the 2nd panel, or it fits flush against the ceiling but leaves an even wider gap at the bottom left seam. These gaps are way too big to be hidden with spackle, and the brick pattern then wouldn’t match up on the 3rd panel. It would basically cause each panel after the 2nd one to be progressively less even.
So. Sorry for the long comment, but I wish I’d thought to check how level the ceiling/wall is before I’d done all this research and spent all this money, and I hope anyone else who sees this can avoid the tears I’m currently experiencing.
Hello Bower Power
Such a fantastic job! This would look great in our new addition.