I promised ya’ll a tutorial on how to glaze furniture. And here I am delivering said tutorial. Seriously…it does not get better than this. Glazing is the most exciting thing you may ever read on this blog. Glazing might be a more emotional experience than childbirth, marriage, or death. Glazing probably is gonna make you laugh, cry and pee in your pants. just a little.
And after all that laughing, crying and peeing is over, you may realize the truth. Glazing is pretty boring. It’s like mascara…you already have the curled eyelashes and the bags are all concealed…and the eyelashes aren’t actually different than before…the mascara just helps bring them out a little. That’s what glazing does…it makes the ‘lashes’ pop out…in this case, the lashes are the nooks, crannies, cracks, and corners. So even though mascara isn’t as exciting as red lipstick or blue eyeshadow, this boring thing is important to finishing the entire look.
Okay…now that you got the lowdown on how boring this post might be…here is our bed that I recently glazed.
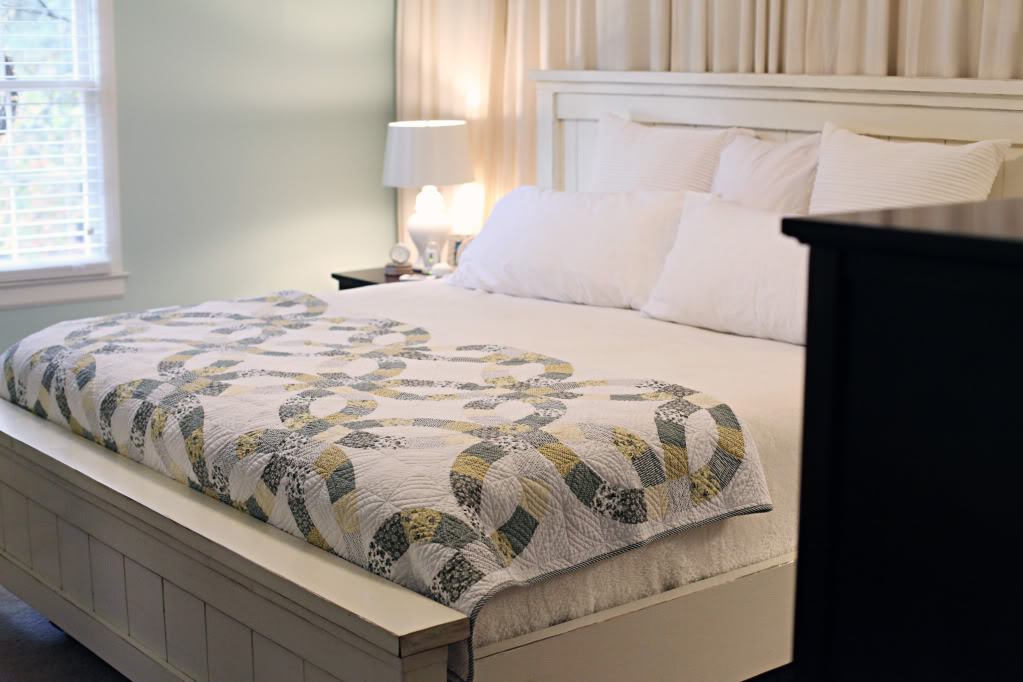
Before we glazed it, the bed looked pretty plain. It was painted antique white and the grooves were very understated.

We wanted it to look like someone plucked it from an old farm. It needed to be worn, old, and a little rustic. It needed to be able to hide dust (who has time to do that?!) and dirty little hand marks (I do have a boy ya know) and future bangs from where Will is gonna slam his siblings head into the posts.
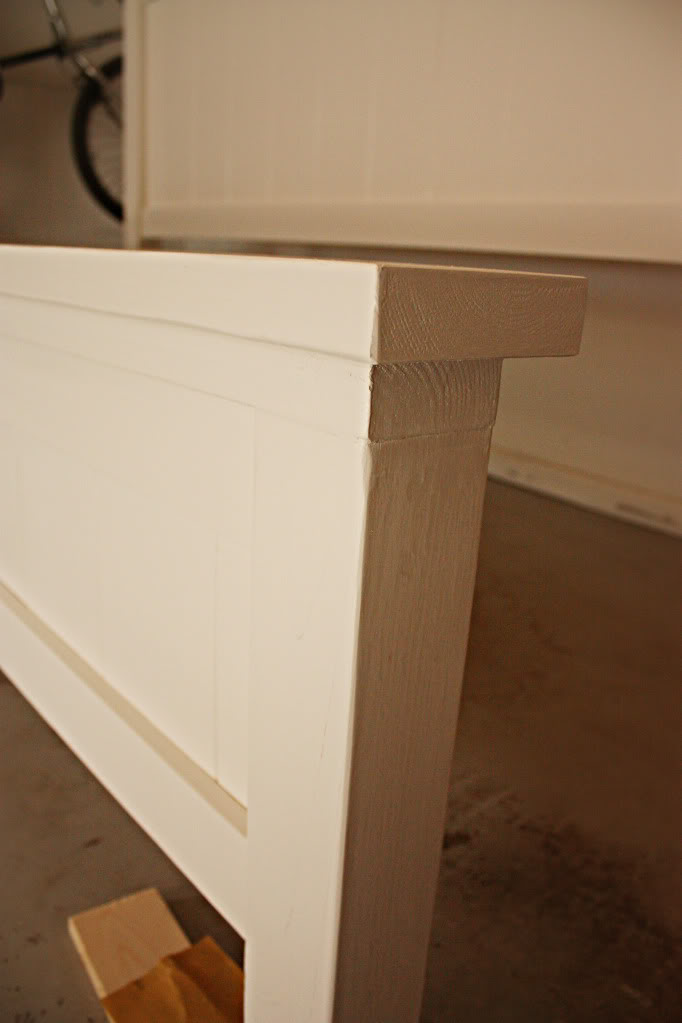
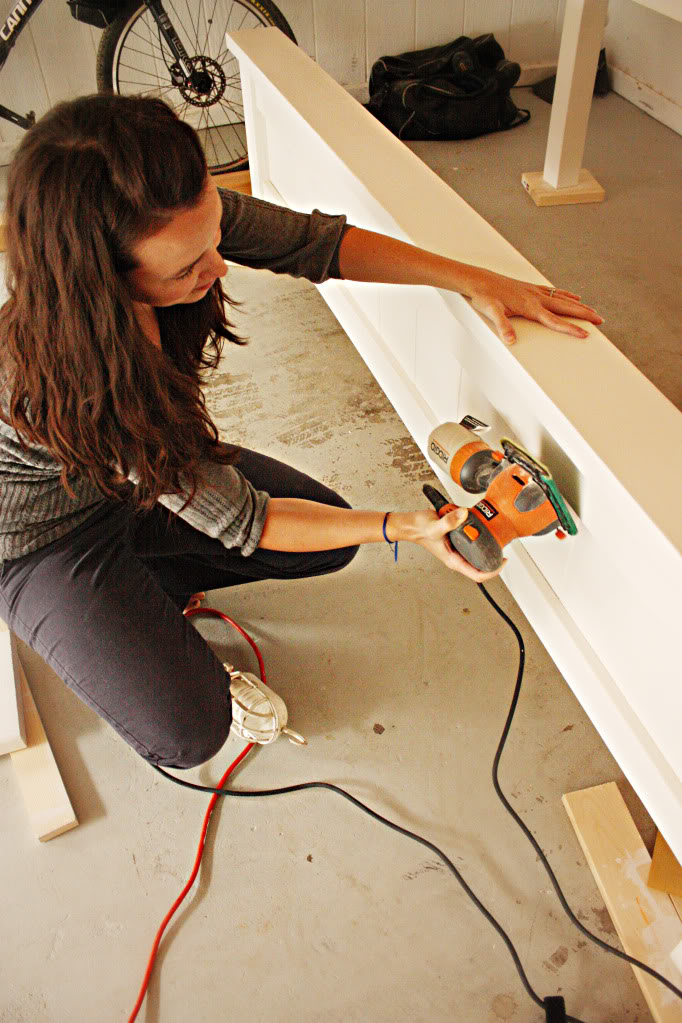
The first step included sanding the edges. Any raised parts got roughed up. The corners got the paint removed too. This isn’t brain surgery…just rubbed the paint away till the raw wood was exposed below.
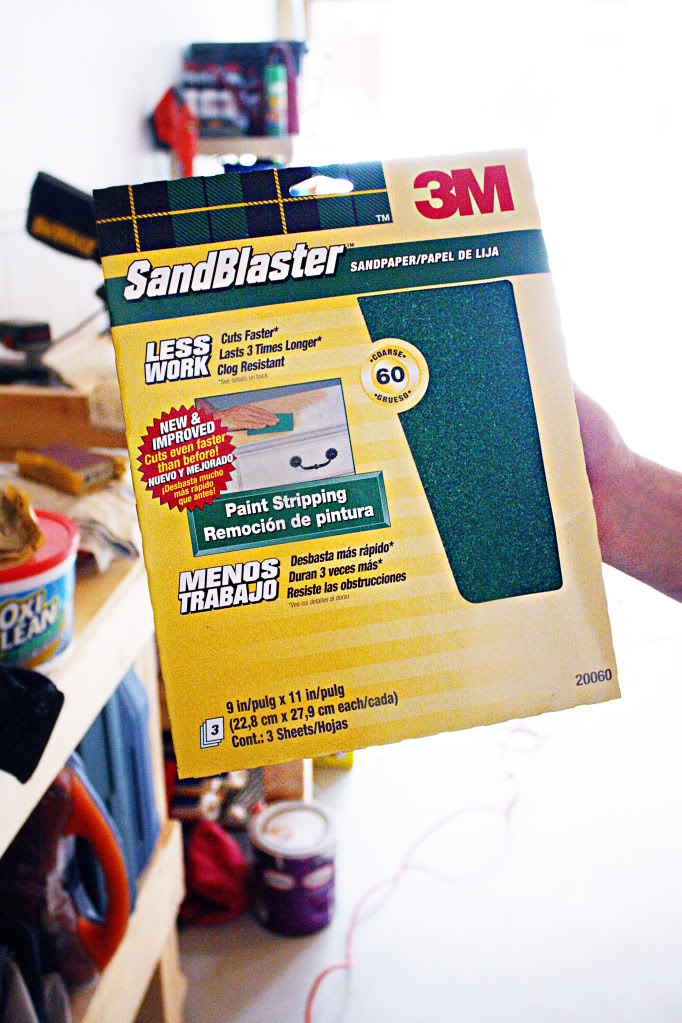
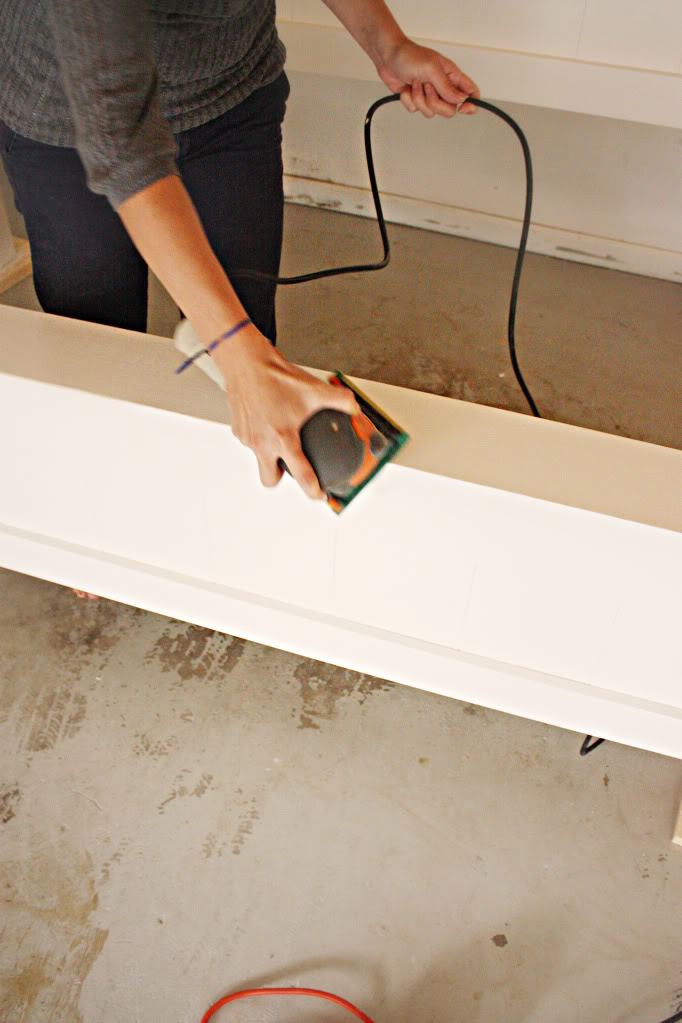
Since this was a large piece, I used a sander for some of the sanding step. I also tried to get the grooves a little more groovy by sanding them a little too. Then I just wiped all the dust, paint and gunk away with a damp papertowel.
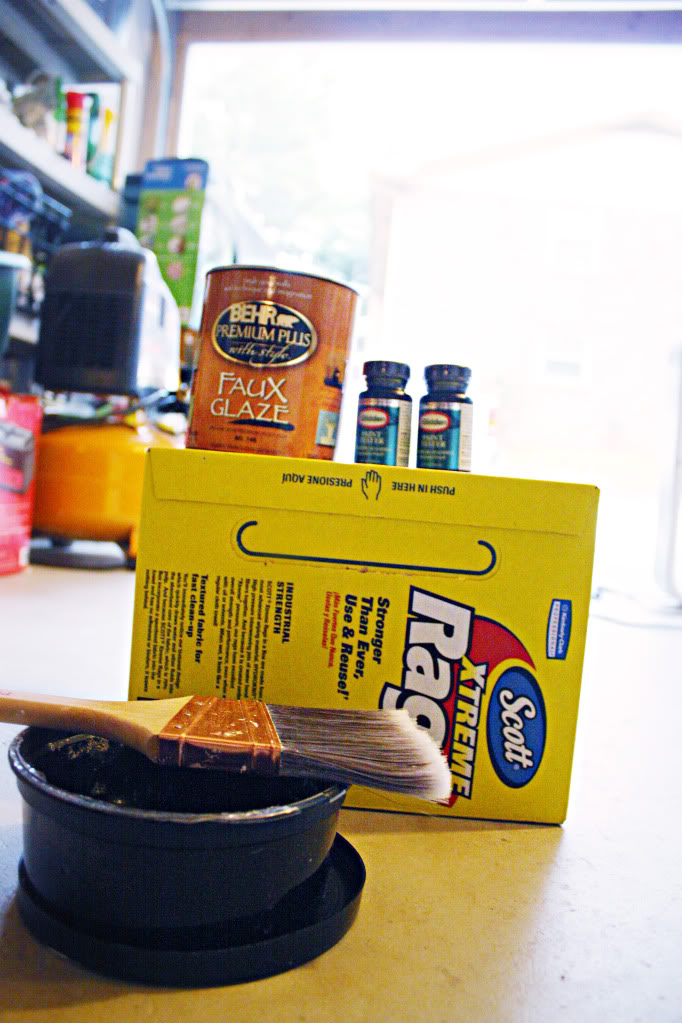
Time for glaze prep.
I used Behr’s Faux Glaze (it’s clear in the container just in case you’ve never seen glaze before) and picked up a couple sample containers of Glidden’s Chocolate brown. You’ll also need a whole slew of paper towels. And a paint brush and a container to mix everything into.
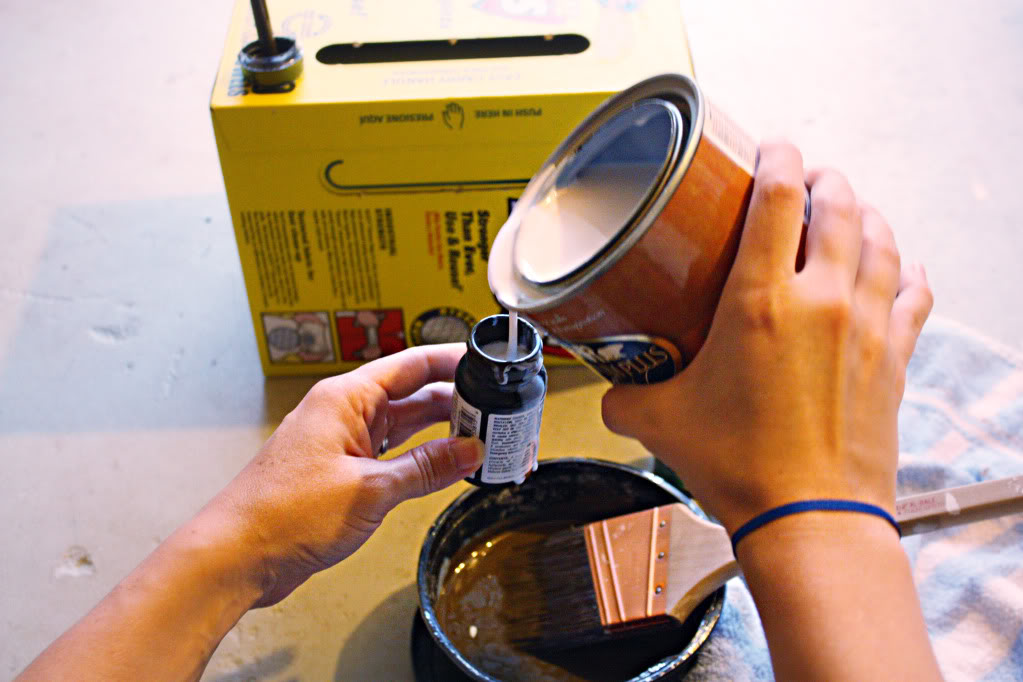
Pour the sample paint (the chocolate brown) into your container. Then fill the sample paint bottle with the glaze.
Mix it together.
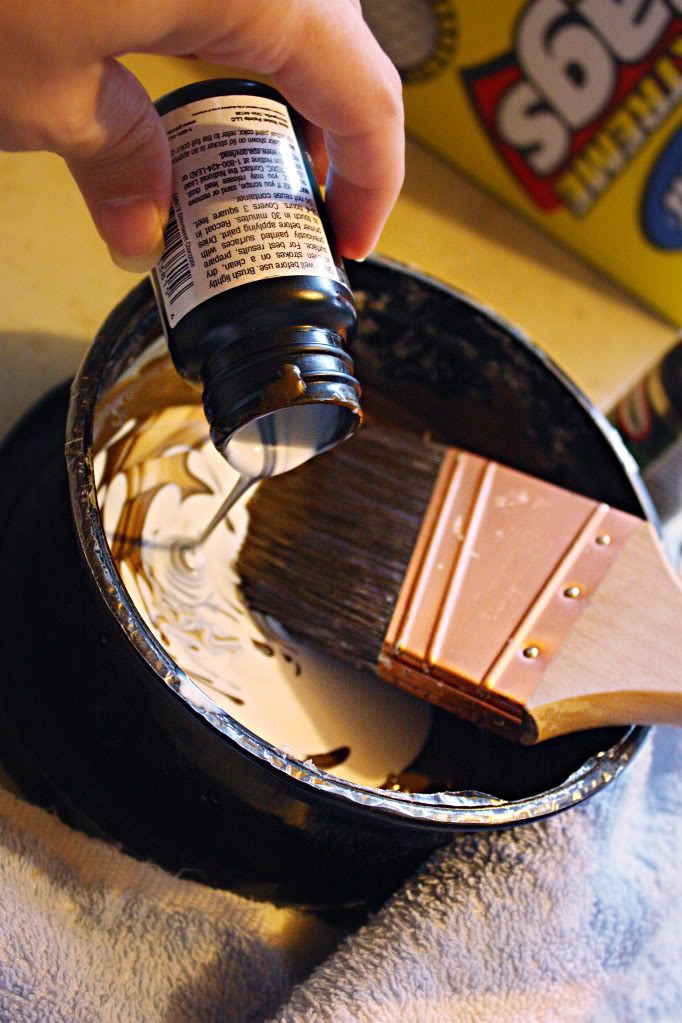
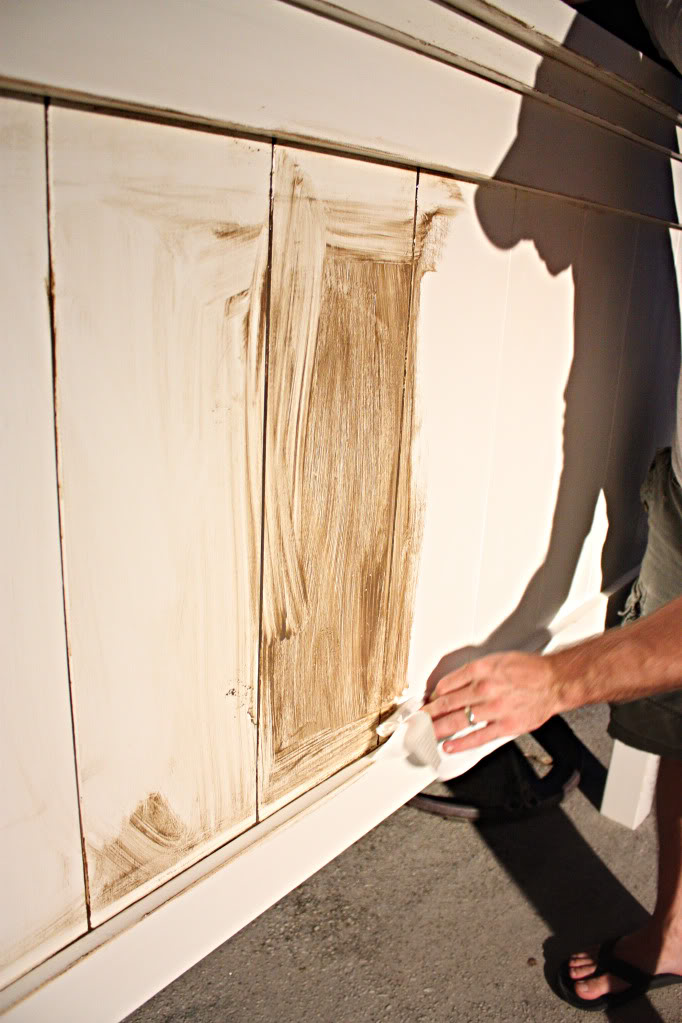
Then it’s time to paint it on the glaze mixture. It only takes a thin coat. You want to apply it all over. One thin coat of glaze on the entire surface…but you want to work on a small portion at a time. The key is to stop painting before it dries.
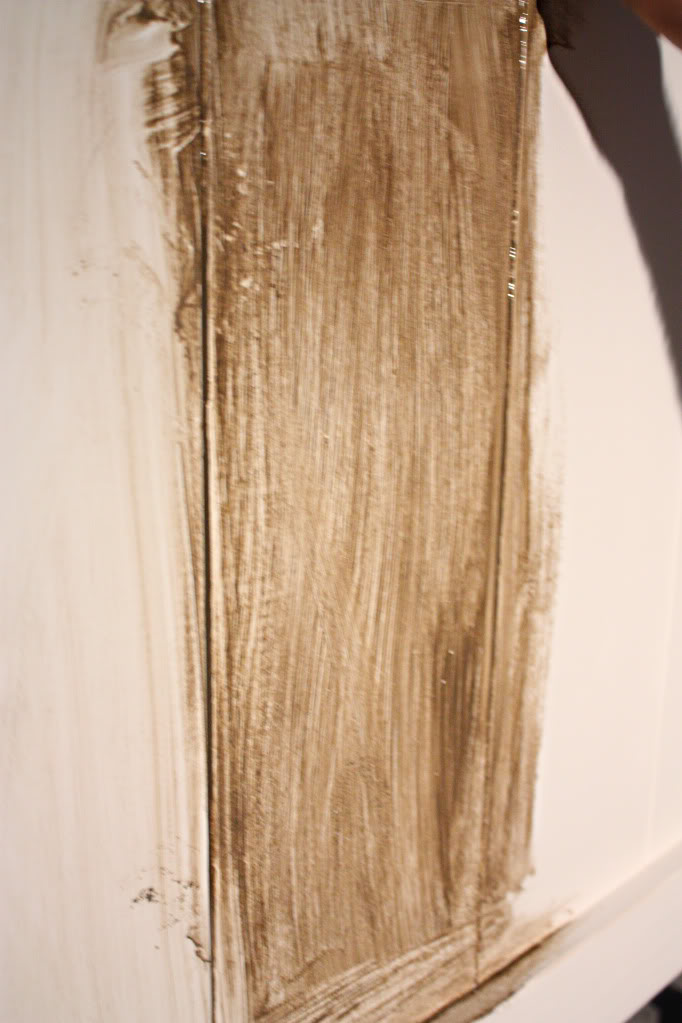
Now comes time for the wiping. Wipe off the glaze in large sweeping motions.
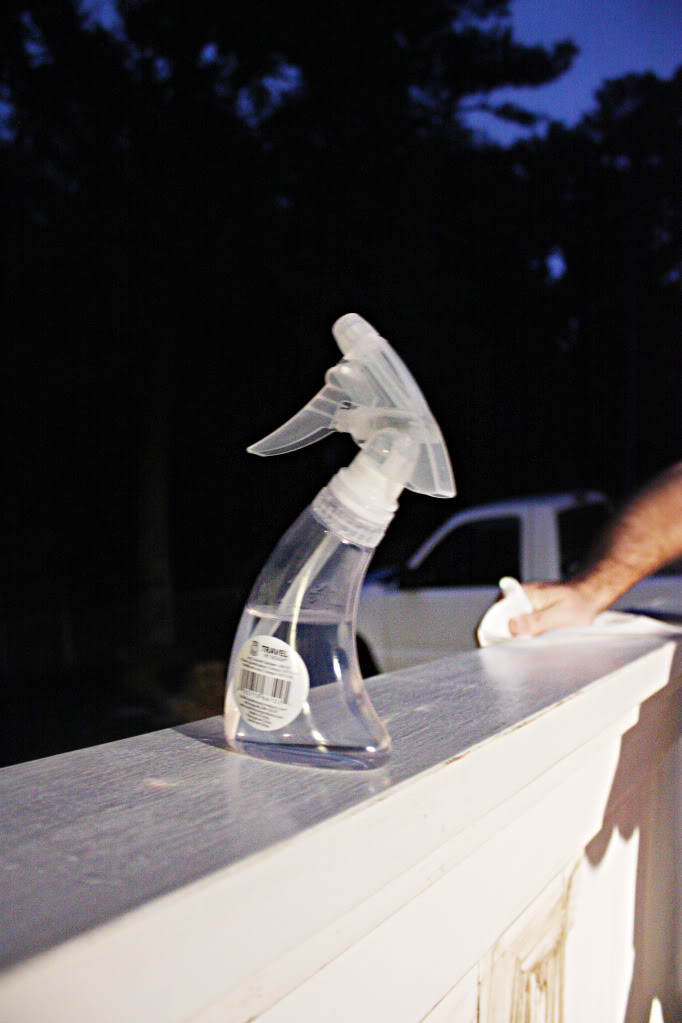
If the paint is drying before you have a chance to remove the majority of it…then a spraybottle with water misted on the surface helps.
After you are done glazing and wiping the entire surface, it should have bits of darker color in all the sanded surfaces. and in the nooks and crannies.
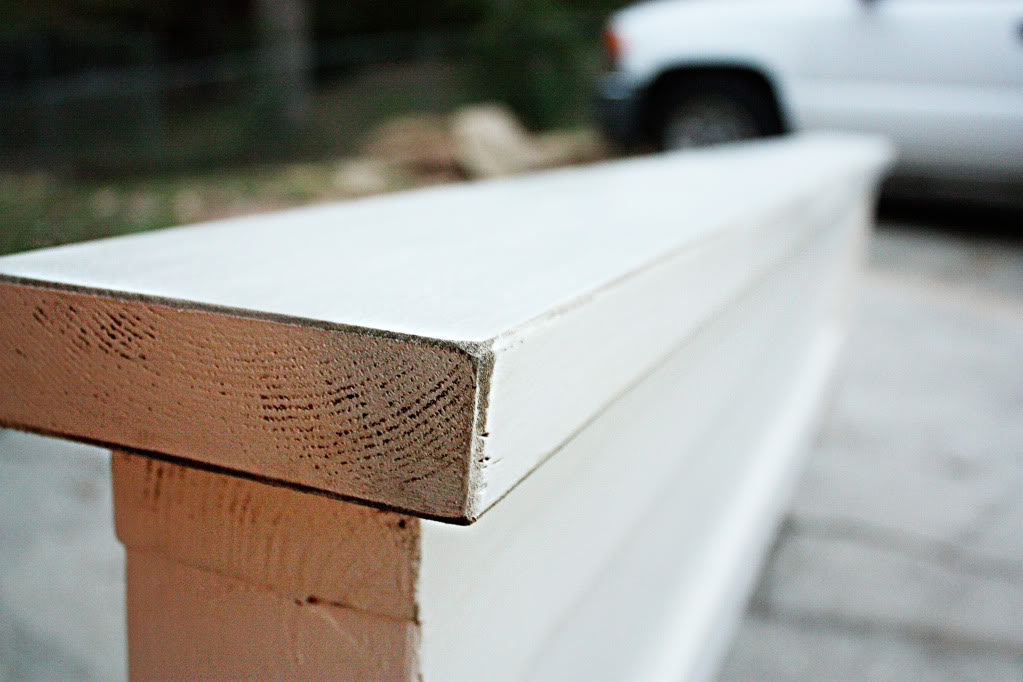
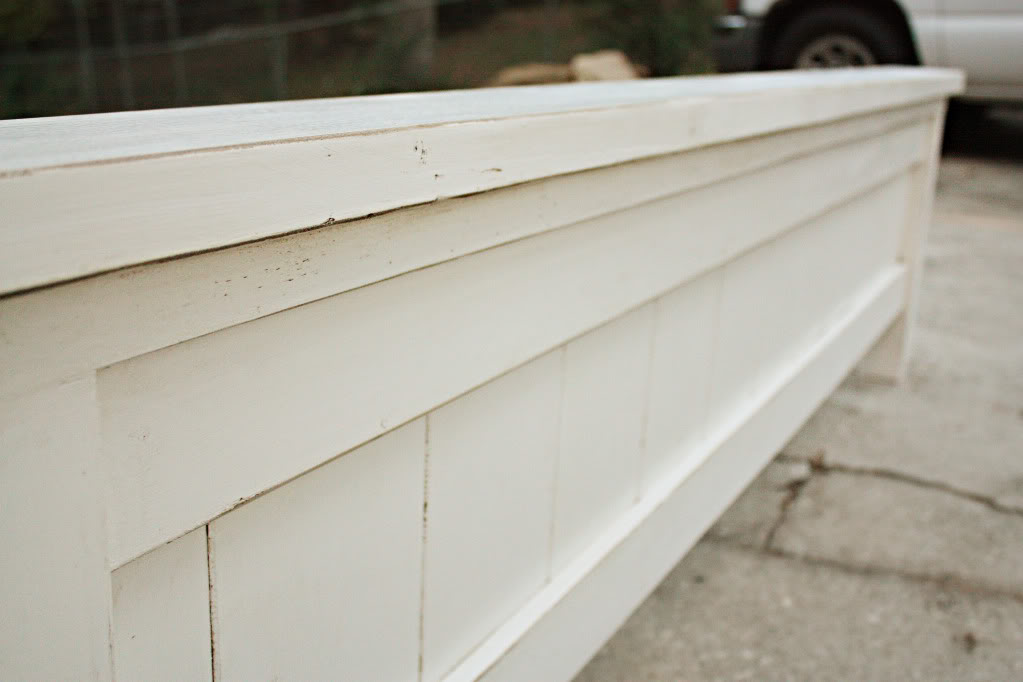
Afterward we did a coat of poly (although I recommend Verathane for protecting white painted furniture!).
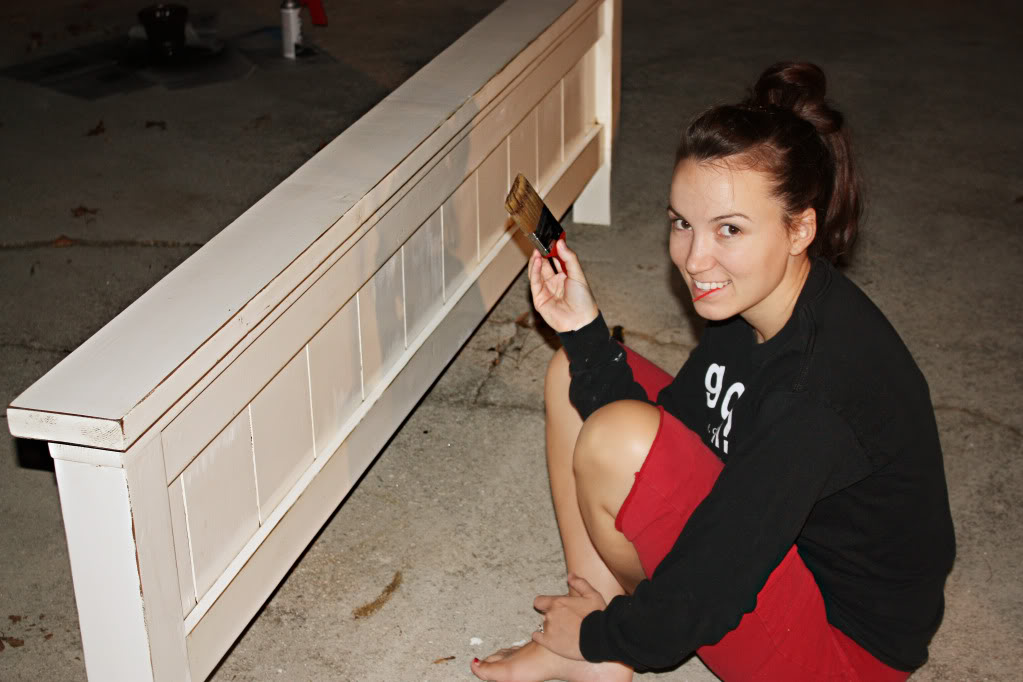
And here is the finished product….
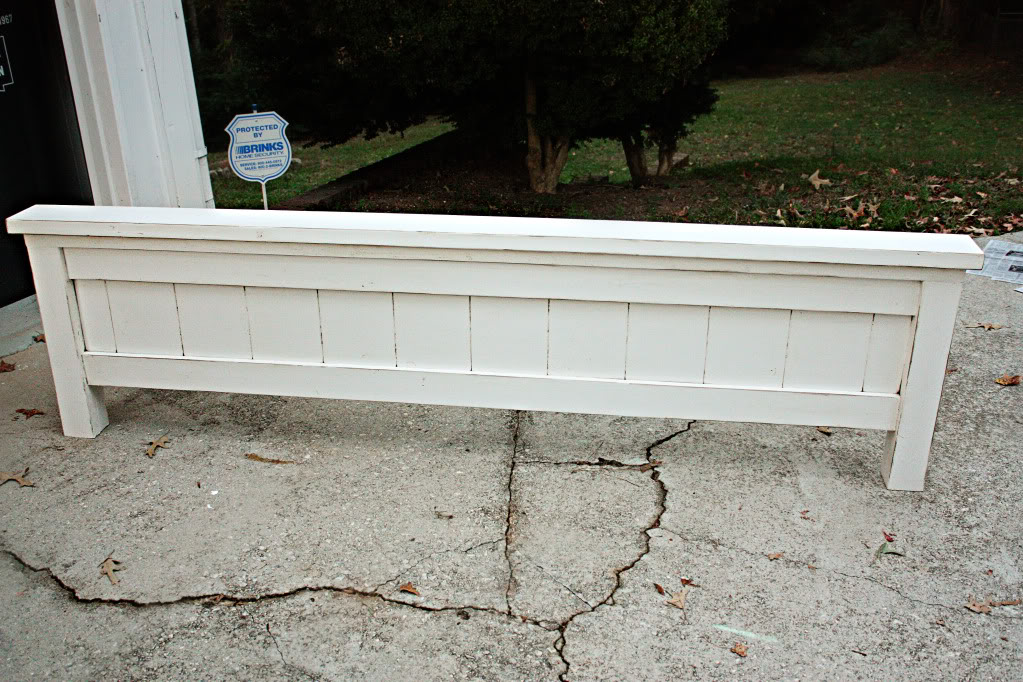
See how it makes the grooves between the paneled part pop a little bit more? And it makes the corners seem a little more boosted? Like mascara right?
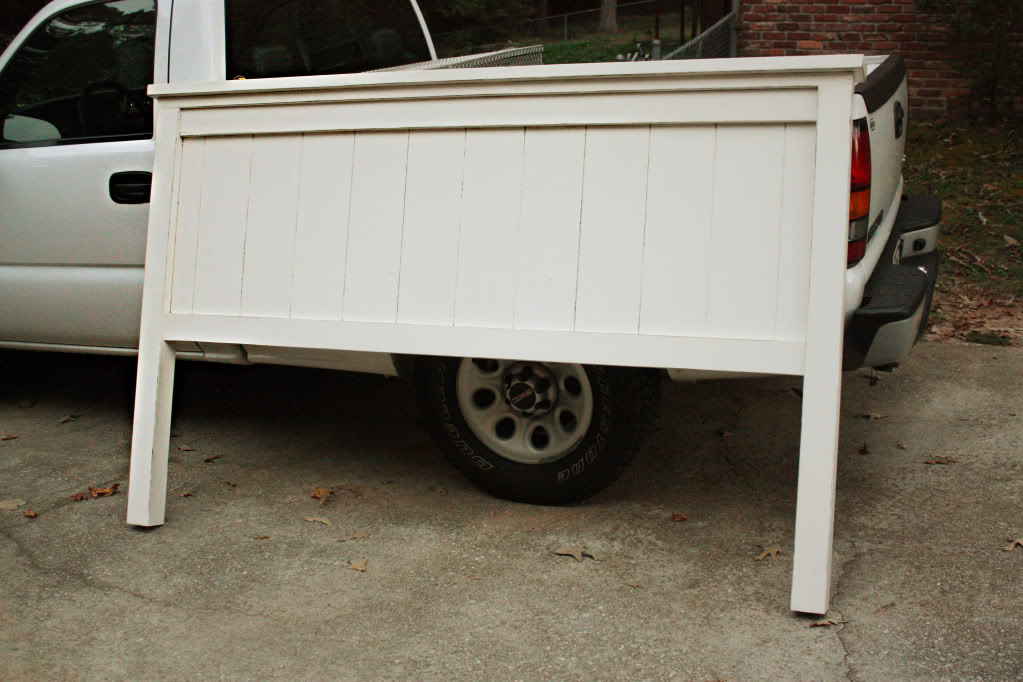
So there you have it folks…the easy (and cheap way) to glaze furniture. The best part is that since I only mixed a small part of the glaze with the brown sample paint, I can mix the rest of the glaze with future paint if I want to tackle a different project.
Any questions? Concerns? Laughing, crying, peeing in your pants?
You guys amaze me!
Your bed looks awesome, Katie!
What an amazing job you guys did!!
So glaze is mascara for white furniture? I LOVE IT! <3 Thanks for the tips!!! <3
xoXOxo
Jenn @ Peas & Crayons
thanks for the awesome tutorial – i’ve been wanting to tackle something like this for a while!
two things:
1. if you need an actual image of a white piece of furniture that was covered in an oil-based poly (to see the end result), let me know and I can email it. It will shock your readers! (The yellowing happened overnight).
2. What if you have a glaze that is already colored? Can you still mix it with your original paint color? I am wondering if that would help with some of the intense contrast I get…and don’t like).
I’ve been wanting to know how to do this. Glad to know it’s so easy. Thanks!
Looks great! I love the action shots 🙂
Definitely worth a FB shout-out!
Perfect Timing Katie! I just bought the stuff to paint and glaze my kitchen cabinets. So here is my question though, I bought a glaze that is already colored. Humm, do I still do the same things, minus the mixing? Do you think mixing yourself is better?
Hi Katie! I am soooo glad you went over this process. We are about to paint and glaze our kitchen cabinets. I had no clue where to begin! I love your blog!
Looks fab, as does everything you do….!
Totally cute! Love the mascara comment. Classic!
Where did you buy the glaze?? I looked at Lowe’s and they looked at me like I was crazy!
Also did you do equal parts paint and glaze?
We have glazed cabinets in our house be built and looove them…crazy nice. But my husband does woodworking and I want to glaze other pieces around the house.
Thanks!
Love your blog!
Thanks for the info! I feel it may be handy in the future!
I did do equal parts glaze and paint…and actually all it took was one little sampler full of each to do this entire bed…so a little goes a long way.
I bought it at Home Depot.
xo – kb
Hmmm…you know what Melani? I gonna have to say ‘it depends’ on this one….only because you can customize it for your own look. Like if you want to use black instead of the chocolate brown. I’m guessing that if yours is already colored that you might want to test it on a sample area before committing to it 100%. And yes, I would guess that you do the same process.
Happy Glazing!
xo – kb
I must be a nerd because this was extremely exciting to me. I’ve always wondered how to do this and how difficult it would be – thanks for the tutorial! Now I gotta find something to glaze…:)
nice to catch up katie! the bed looks great and the new house sounds like fun!
The bed looks great! Is this the farmhouse bed from knock off wood? My husband and I have been talking about a new bed and we loved that one.
awesome!
and you make comments about your pregnancy weight from time to time, but darling, you look GREAT for someone who had a baby. heck, for anyone EVER.
My husband & I were having dinner the other night and were commenting on how our oh-so-expensive dining room table’s top was getting scratched to smithereens. I mentioned how I read your blog about distressing/antiquing & he looked at me like I was crazy to demolish our table top! Your post totally proves my point! 🙂
Thanks for the tutorial. The bed looks awesome!
Yep…it sure is! I love love love it 🙂
xo – kb
Great tutorial! I can’t even get my husband to build me some floating shelves, much less an entire bed! I do have a question though- I have a dining room buffet that I’ve been trying to decide what color to paint. I’ve been thinking about a grayish taupe color, but I’m not sure if it will show all of the details of the piece. I thought about glazing over top like you did with the bed. Would it look right to glaze something that is not painted white?
you know what else is great for protecting white furniture? minwax’s wax finishing stuff. it’s great…no shininess, and it doesn’t yellow. much better than scary poly on top of white paint!! 🙂 just fyi!
Sure! I’ve seen peeps glaze over a slew of colors…it makes it look antique, old, and a little, well, dirty 🙂 I love it over all sorts of different colors…including grayish taupe!
xo – kb
Thanks for the recommendation KFD!
Hear that folks? Minwax’s wax finishing stuff works!
xo – kb
Hey Katie,
My husband is, as we speak, in the garage building the foot board for our farmhouse bed. I can only hope it looks as great as yours.
Although the style of our home is a bit more sleek and modern, I love how this could be used on a smaller surface (like a photo frame) to add a little contrast. Thanks for the tutorial-I love how your bed turned out!
Love reading your blog…….What a football weekend – just wanted to say GO STEELERS :O)
You always know what to blog about! I went to Lowes and bought what you suggested and today my husband is glazing and antiquing our nursery furniture 🙂 Soo excited that you had this post! Also, the post last week about Hobby Lobby knobs- right in the nick of time 🙂
Keep writing 🙂 I love your blog and all the helpful tips! Good luck with the house!
That is so pretty and your directions are totally doable! Thanks for explaining this so well, I’ll be linking.
I just discovered the glaze a week ago and yes I did all those things it was like reading a good book I laughed I cried my family thought I was nuts! Glaze is amazing!
Katie – I just found your blog and I’m soooo glad I did! I’ve been terrified to glaze any piece of painted furniture in my house. But after seeing your great tutorial, I’m definitely going to give it a try. 🙂 Thank you!!! I adore your bed! It’s just beautiful! And I’m now a happy follower of yours, too!
xoxo laurie
Peein’ in my pants, but that’s just a normal thing for me 😉 Great tutorial. Great blog! I found you from Kate @ CG and I didn’t plan on spending my entire morning reading, but you’ve got me now!
Have a great day! If you’re interested, I host Passion for Paint on weekends for us ‘paint nuts’.
Thank YOU!! I begged my husband to build me a farmhouse bed for Christmas- and he did- why are we still not using it?? Because I was too afraid to distress it. In fact I tried with just plain old stain of the top of the white paint on the back of the head board and it looked like poo! Tomorrow I will finish my bed! Thanks girlie!
I’m sooo glad to have read this tutorial!!! I have been wanting to glaze something for a long time but never really known how! This was wonderful to read – only one problem, the pictures don’t show up on my computer – has anyone else had this problem??? I want to see how awesome the bed is!!!
thanks!!!
amanda
TOTALLY just peed my pants a little! I can’t wait to try this. You are awesome!
Stef
Have done this quite a few times and getting ready to do it again. Back in the day it was called antiquing. I still love the look.
Hi Katie! Just wanted to ask if you used the spray poly or did u apply it with brush? Thank u!
I applied it with a brush 🙂 But spray poly is great too…it’s just thinner and more expensive so if you need a lot of protective layers…I’d go with the brush on…but sometimes it can bubble so try to be as thin as possible with the layers!
xo – kb